iOS and Android Version
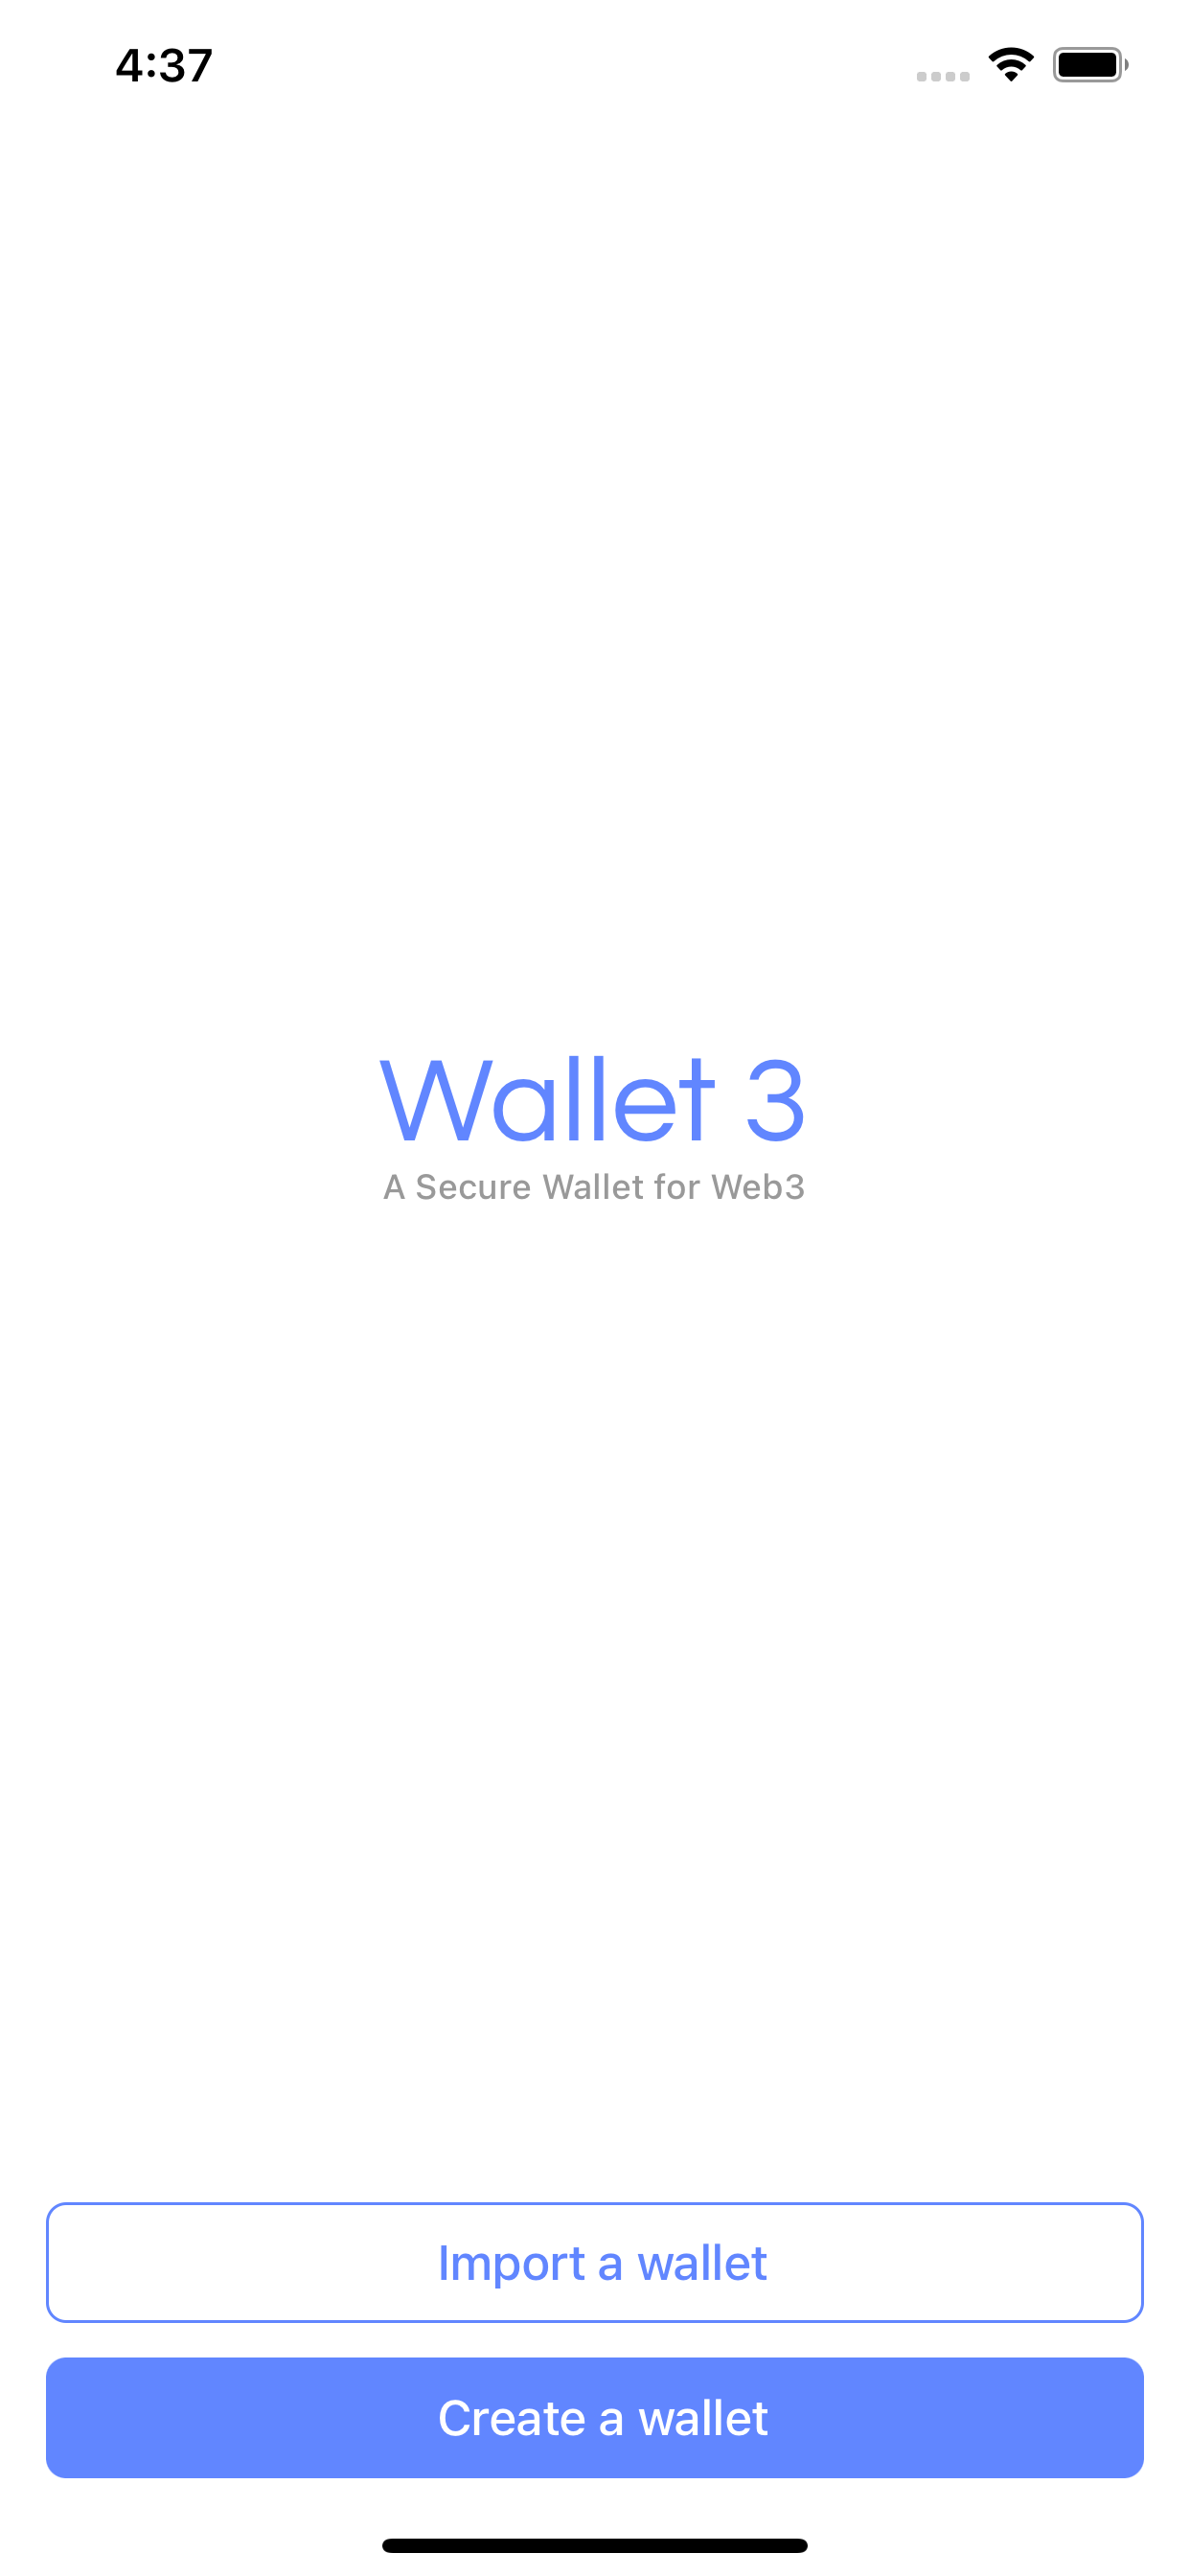
After the installation is complete, start the program, enter the main interface, and choose to create a new wallet or import it according to whether you have a private key or mnemonic code.
Create Wallet
Select the Create a new Wallet button. The app will give you a randomly generated mnemonic code and wallet address.Please use paper and pen to record it. You can switch between 12/24-word mnemonics. The 24-word mnemonic is generated using 256-bit entropy, which is safer than the 12-word mnemonic.
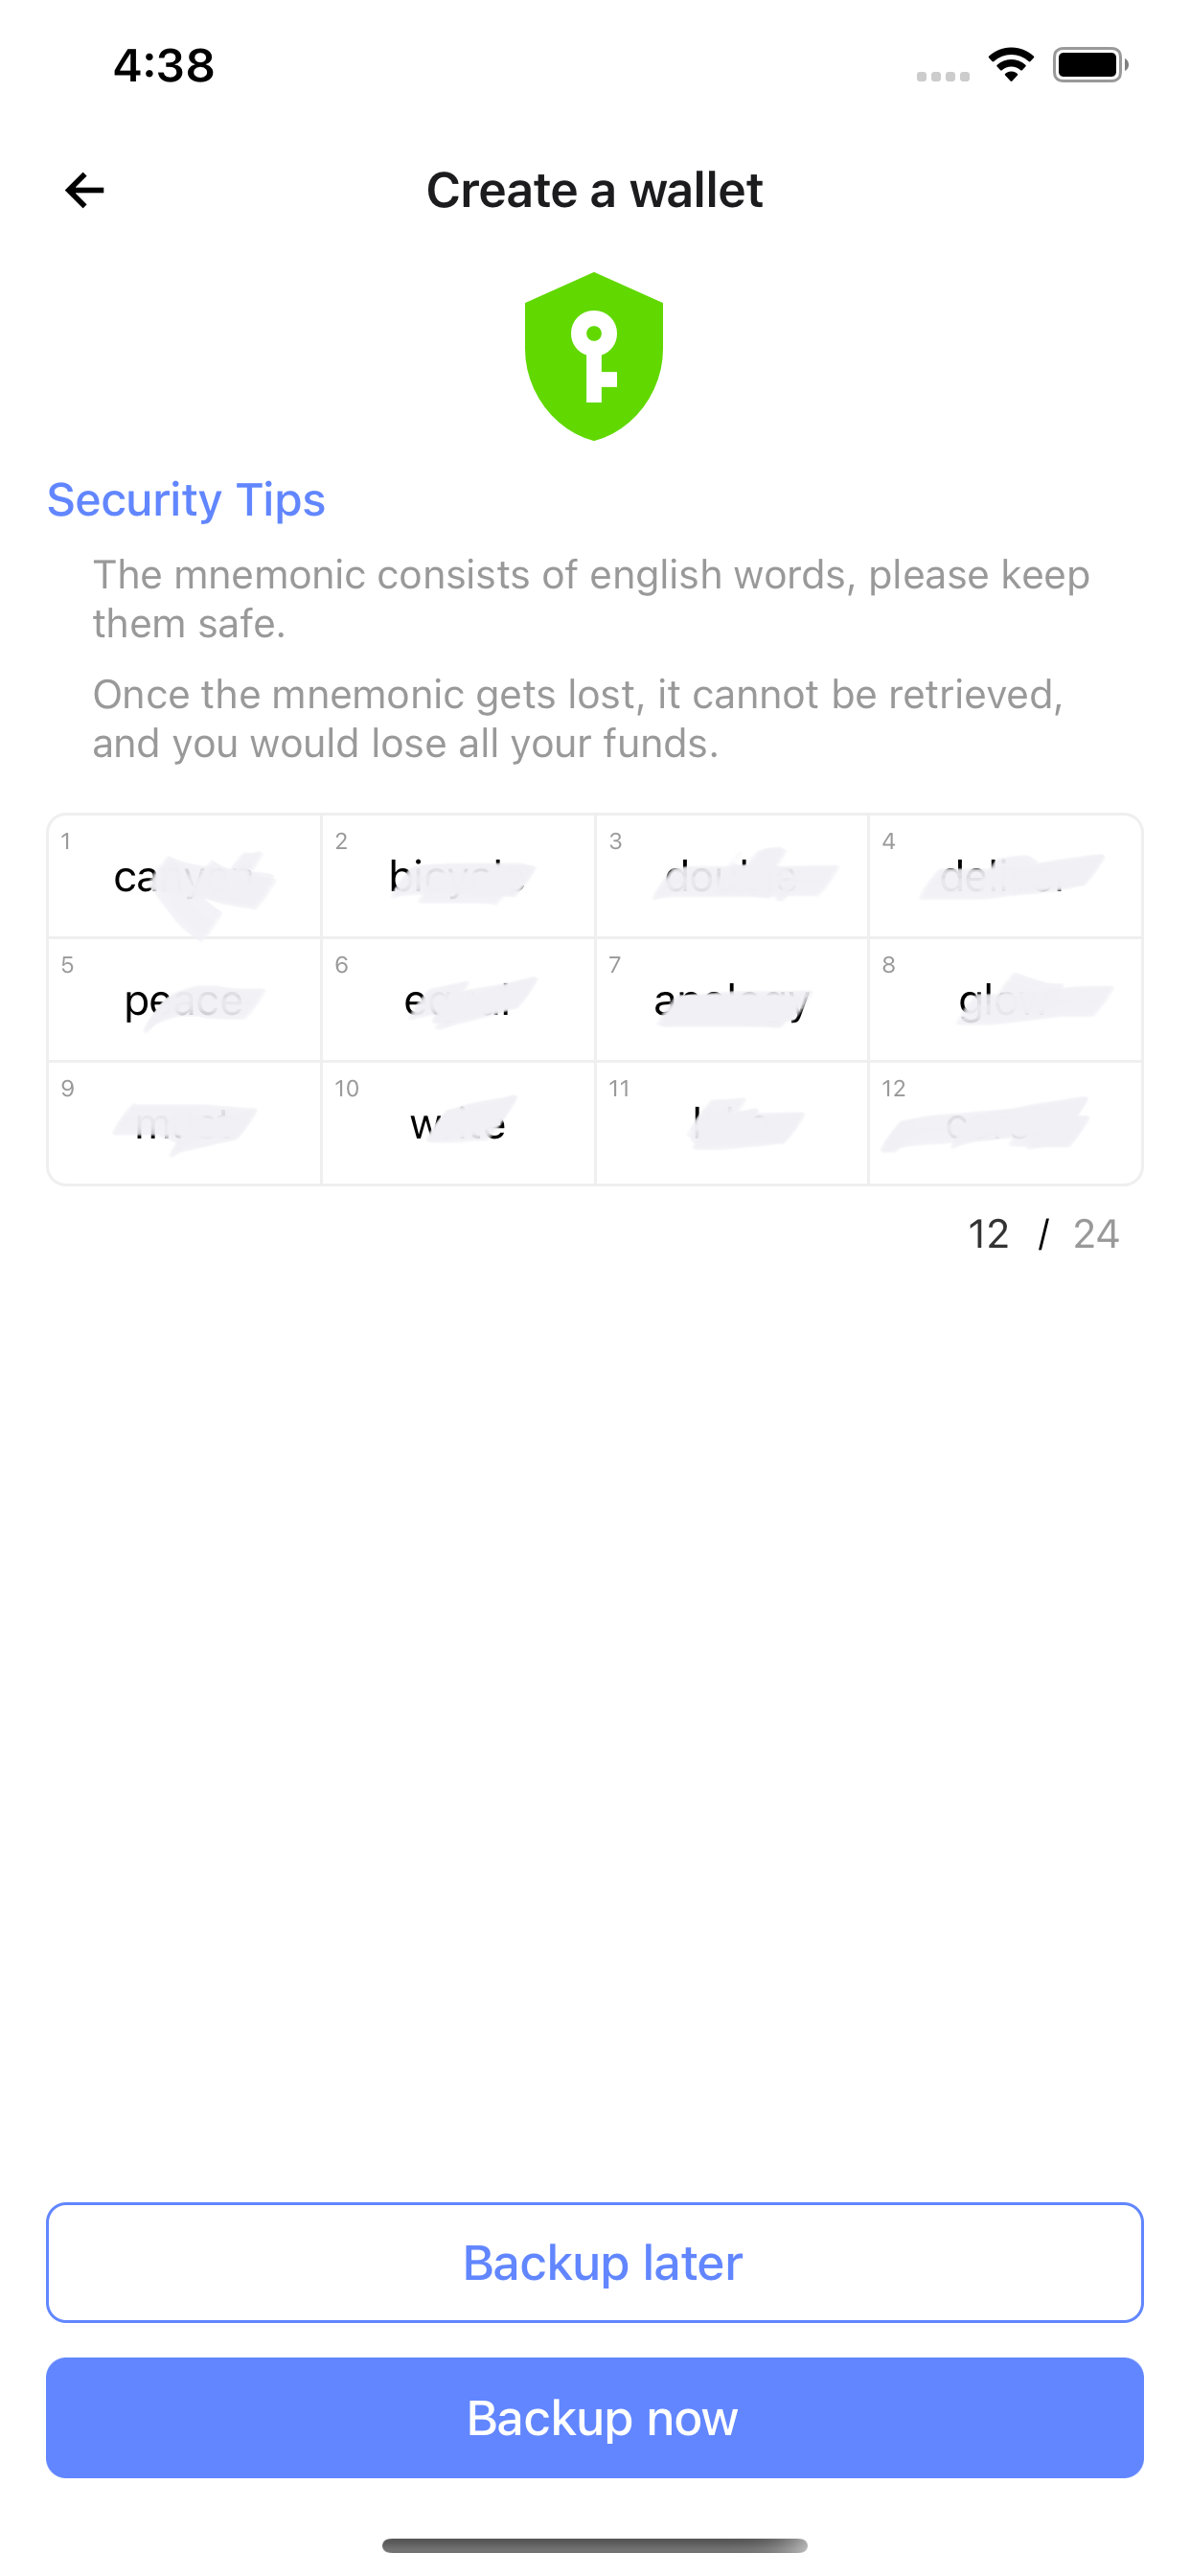
Click "Backup now" to enter the mnemonic verification screen, please click and enter in the order of the mnemonic words.
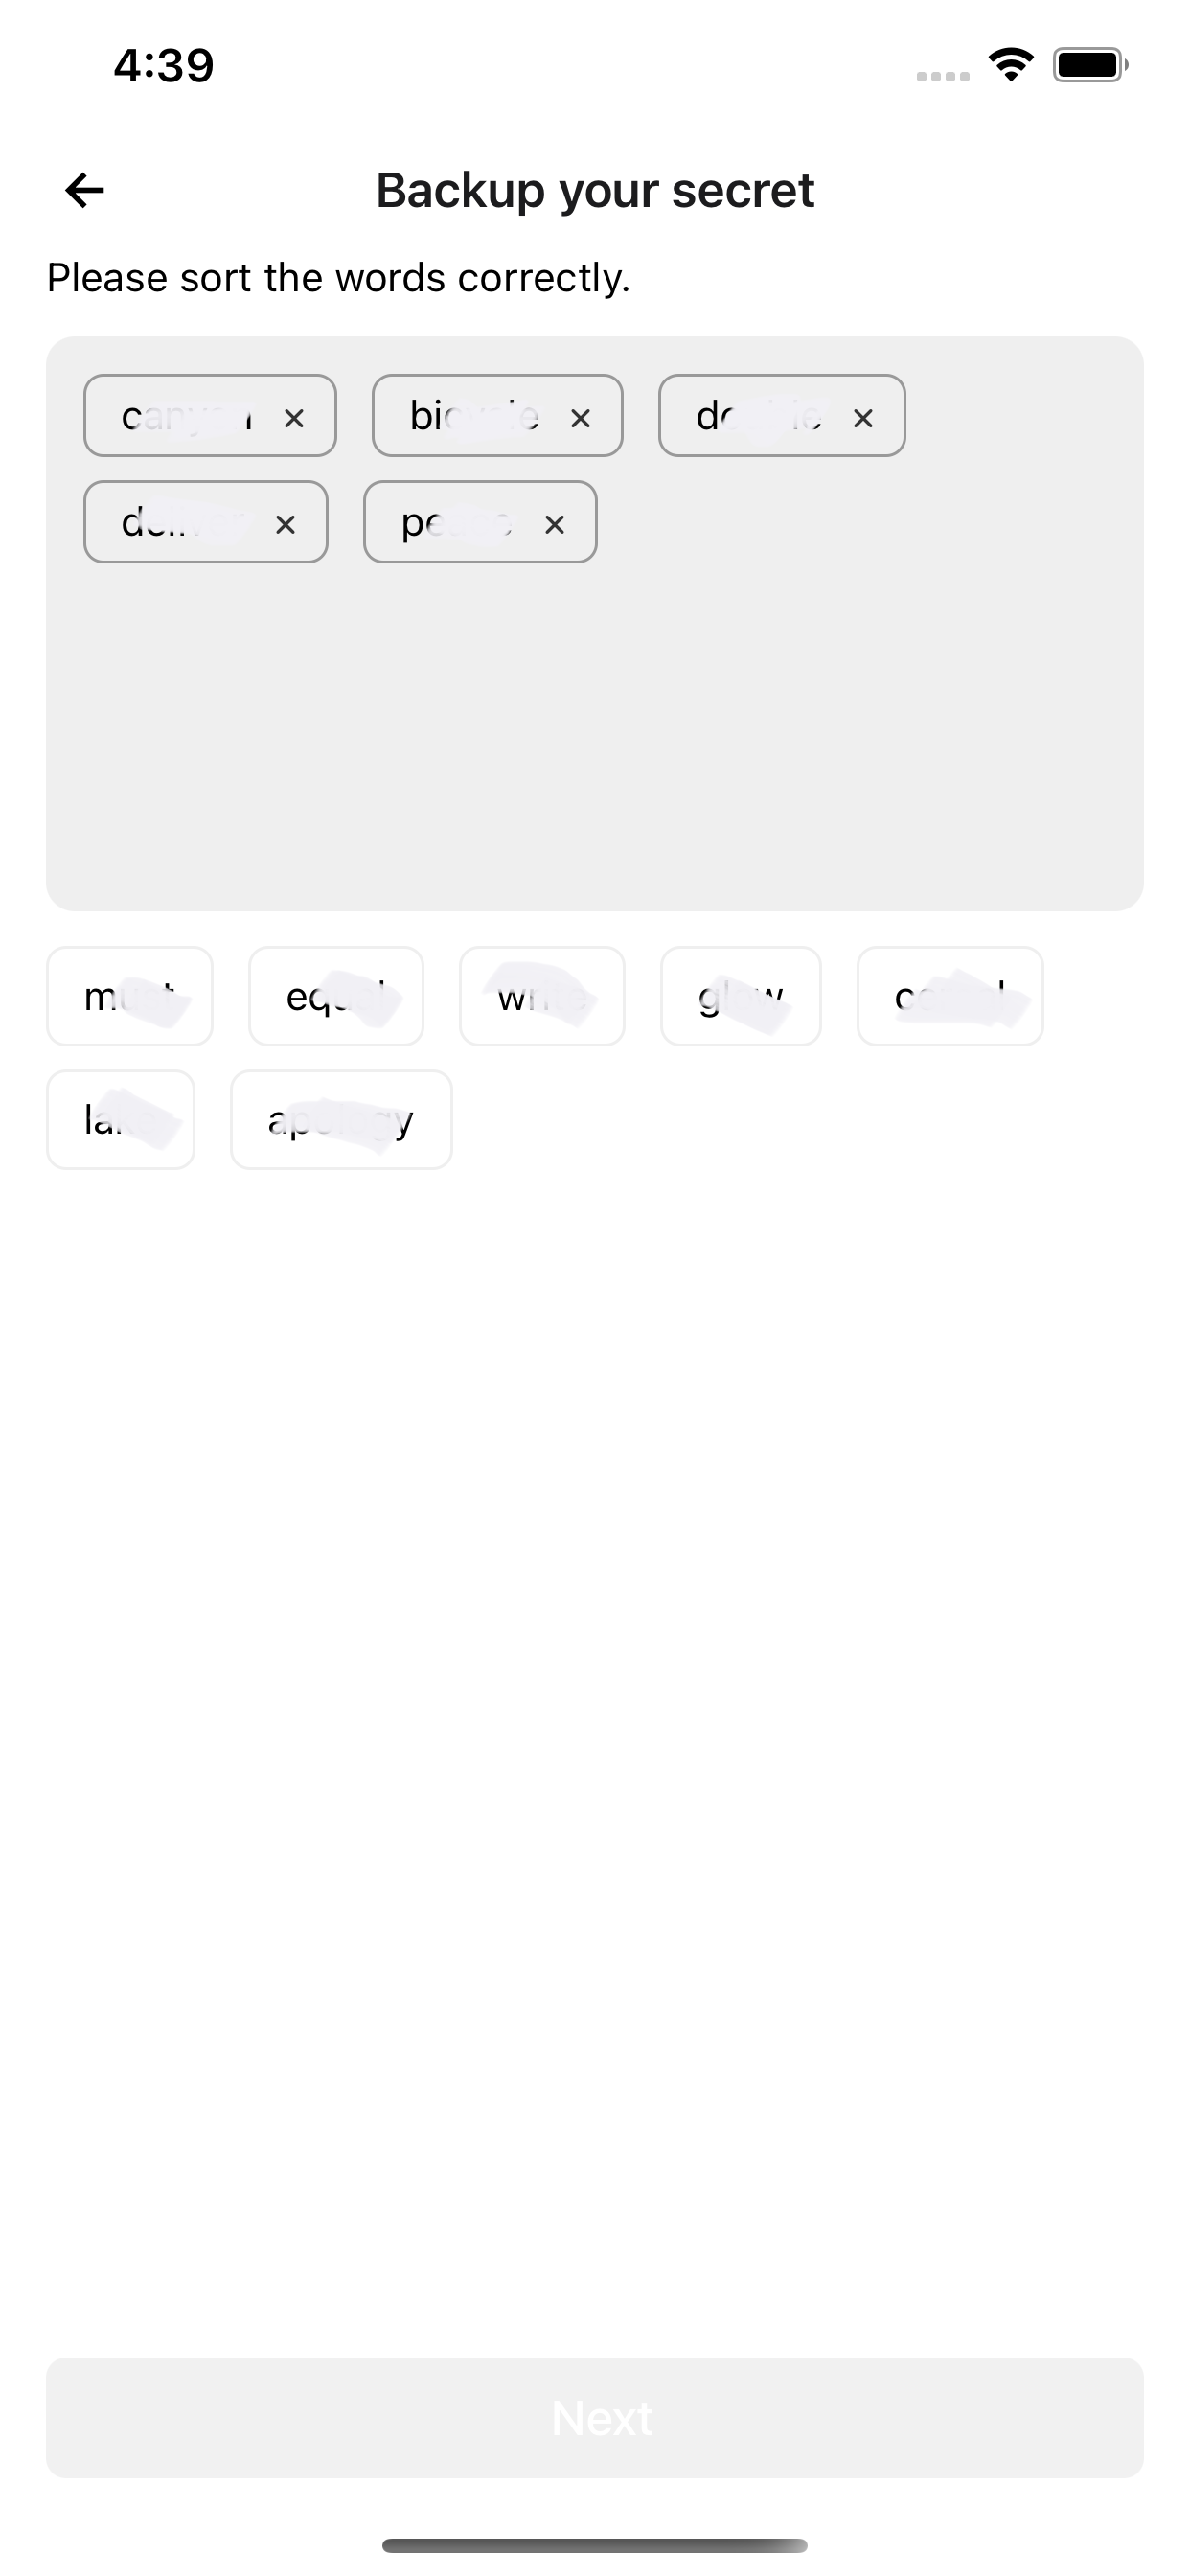
Click "Next". Click Continue. After the mnemonic verification is passed, enter the 6-digit lock screen password twice.
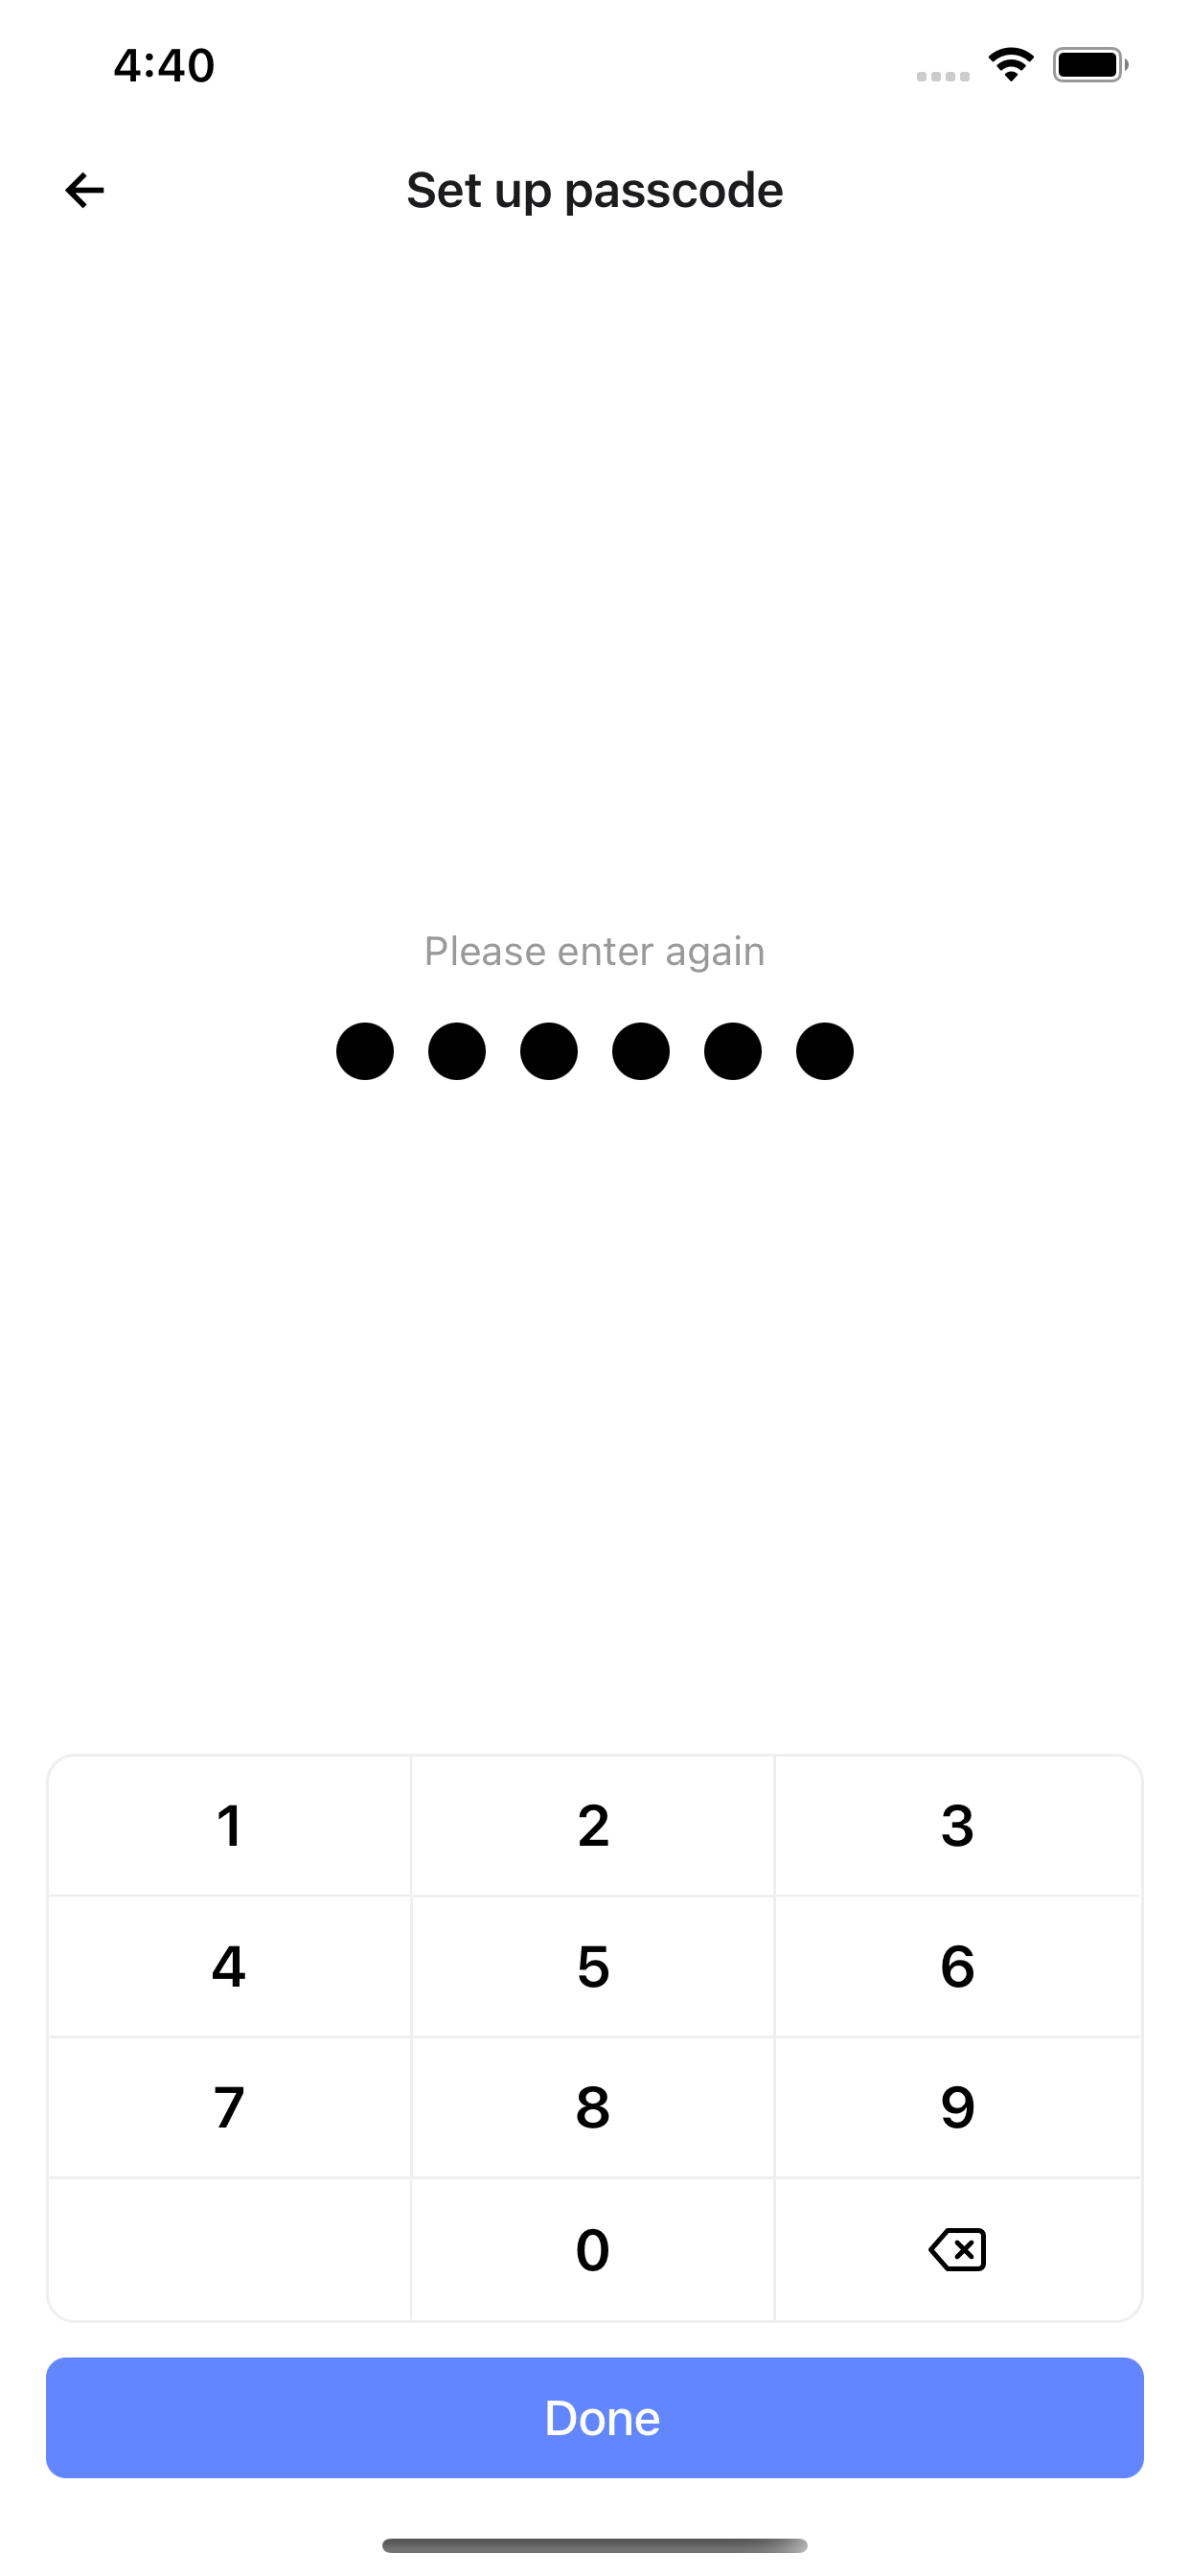
Enter the main interface after completing the authorization.
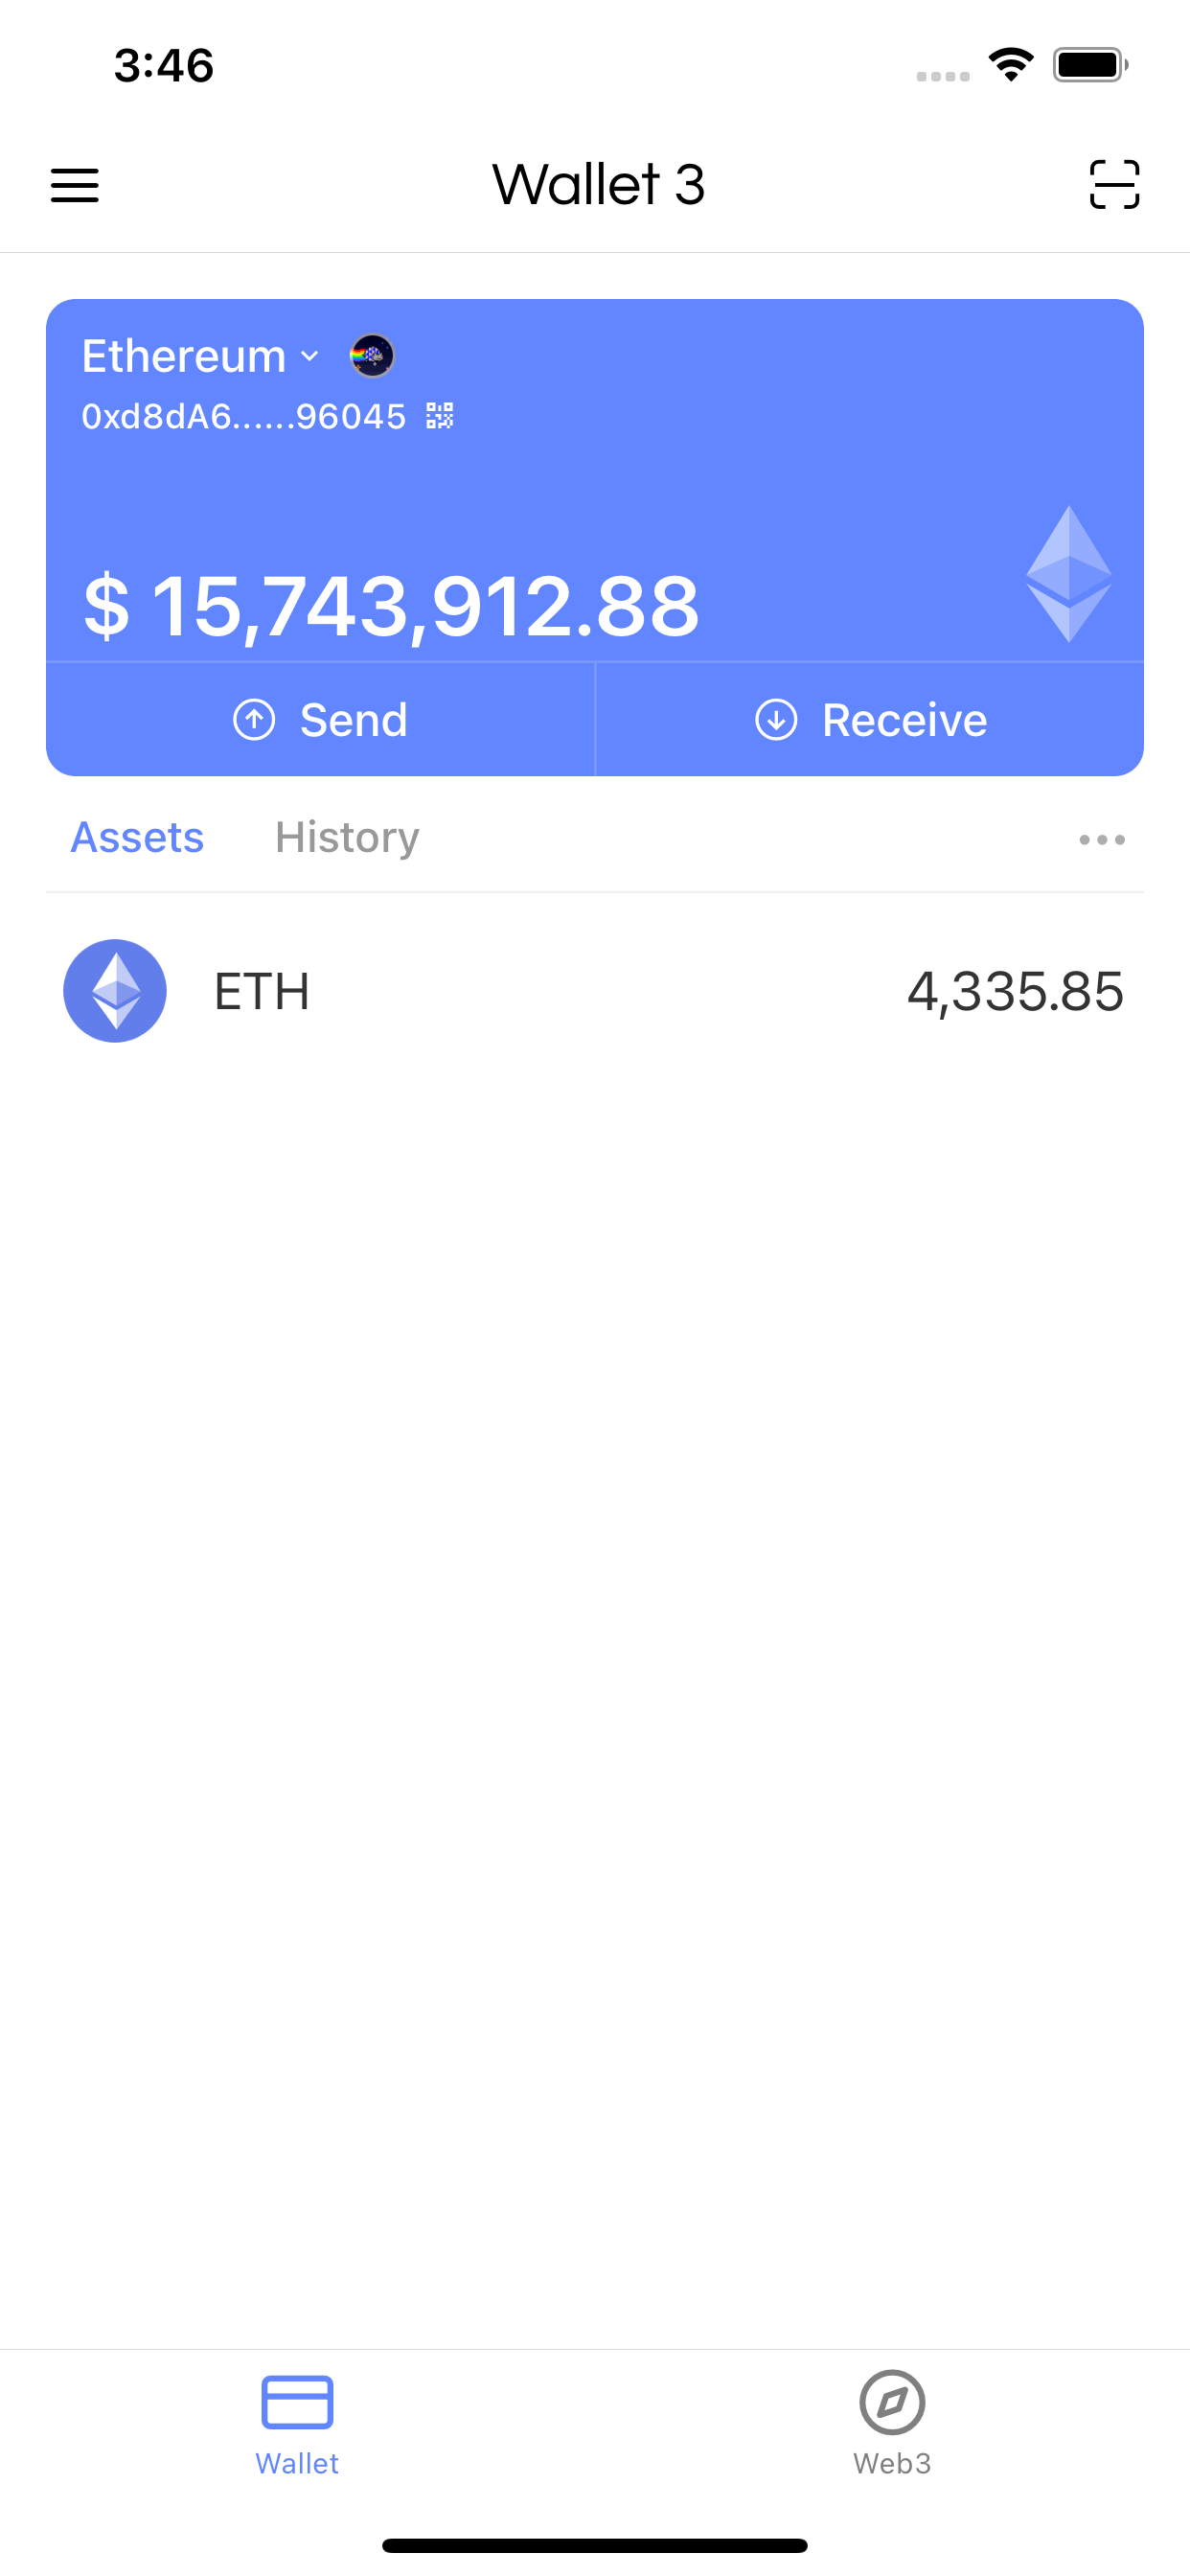
Switch Chain
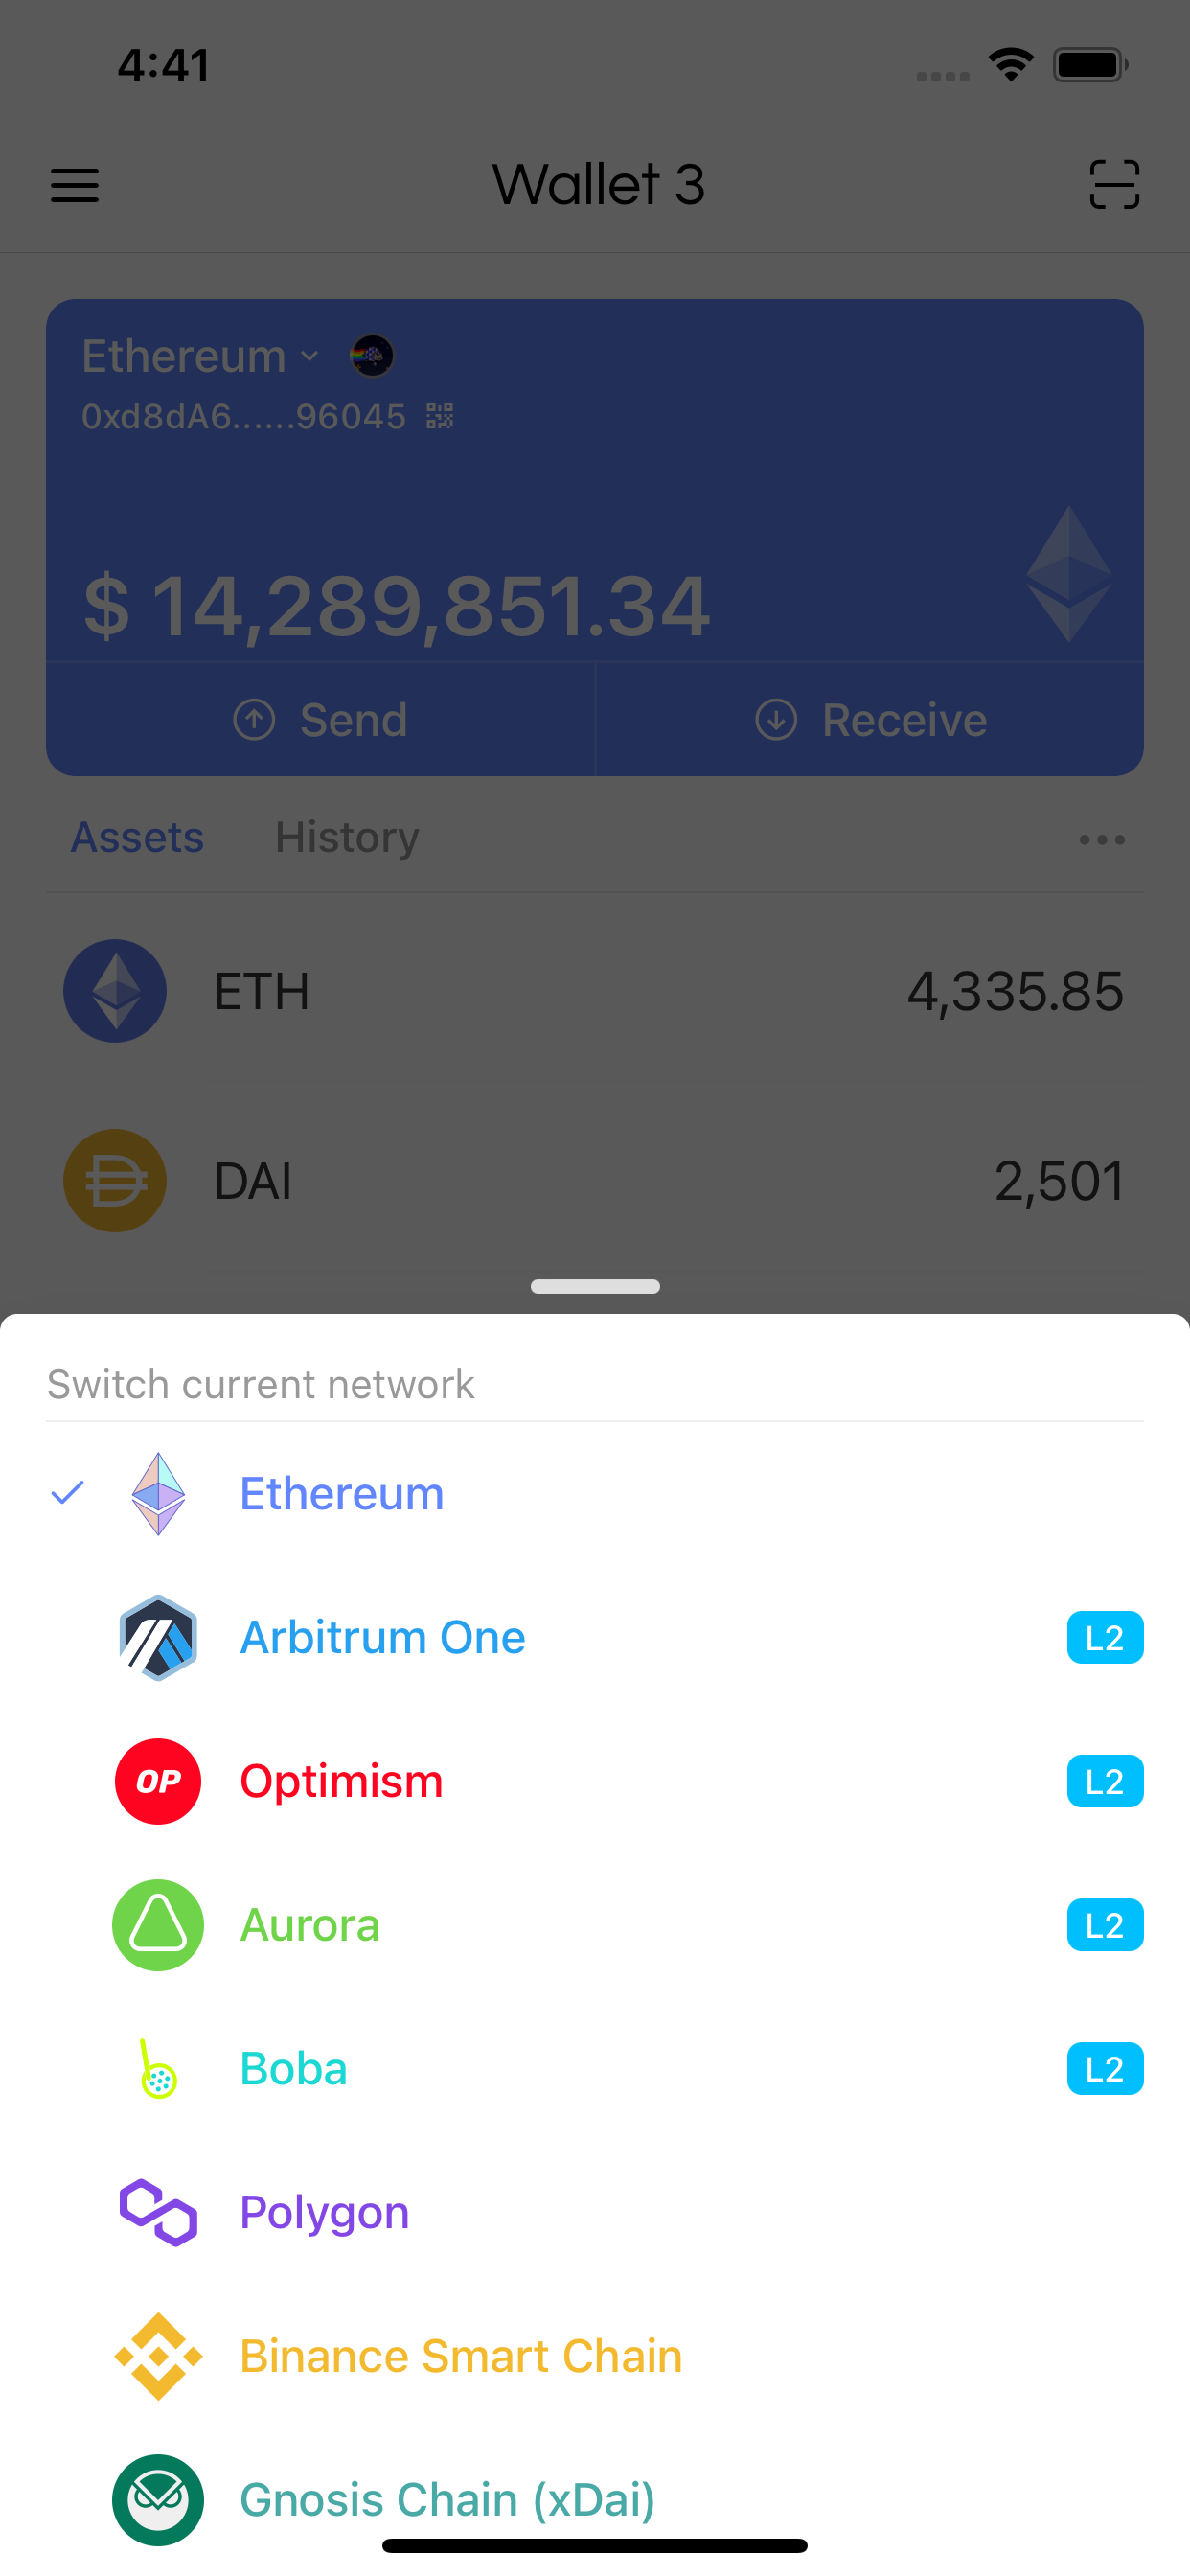
Wallet 3 will directly show the assets owned by the address. The title bar above the App also provides extensive functions. Click "Ethereum" and you can see the currently supported Layer 2 and sidechains. Wallet 3 is the wallet that provides the most complete Layer 2 and sidechain support on the market for now. Click on Layer 2 or sidechain you want to access to switch to this chain.
Tokens
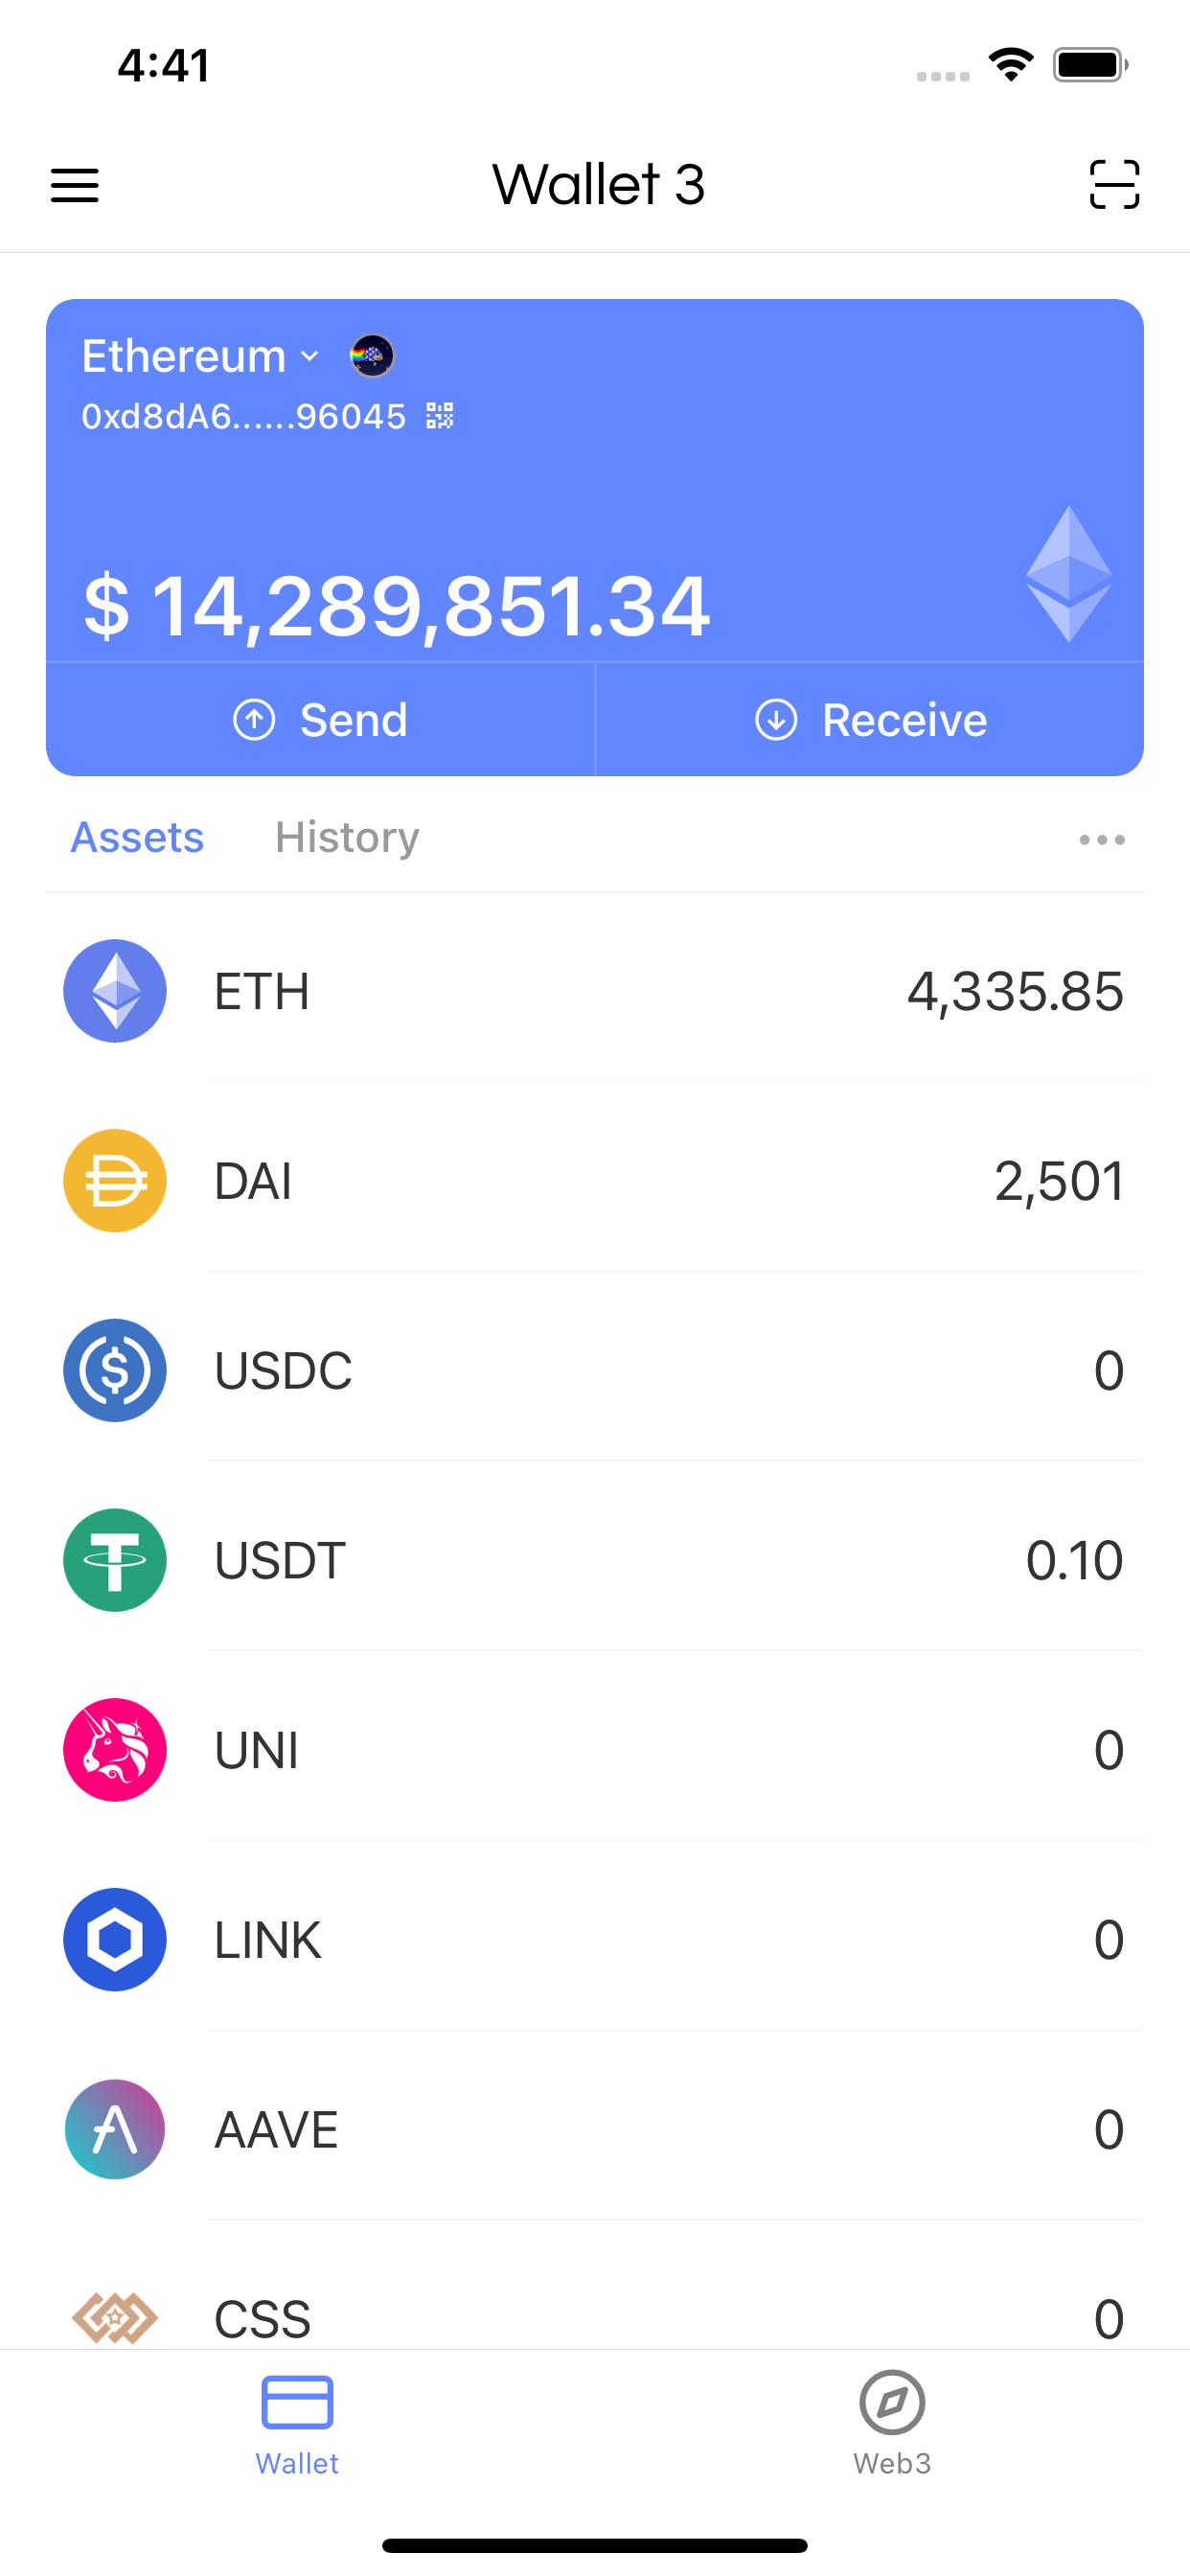
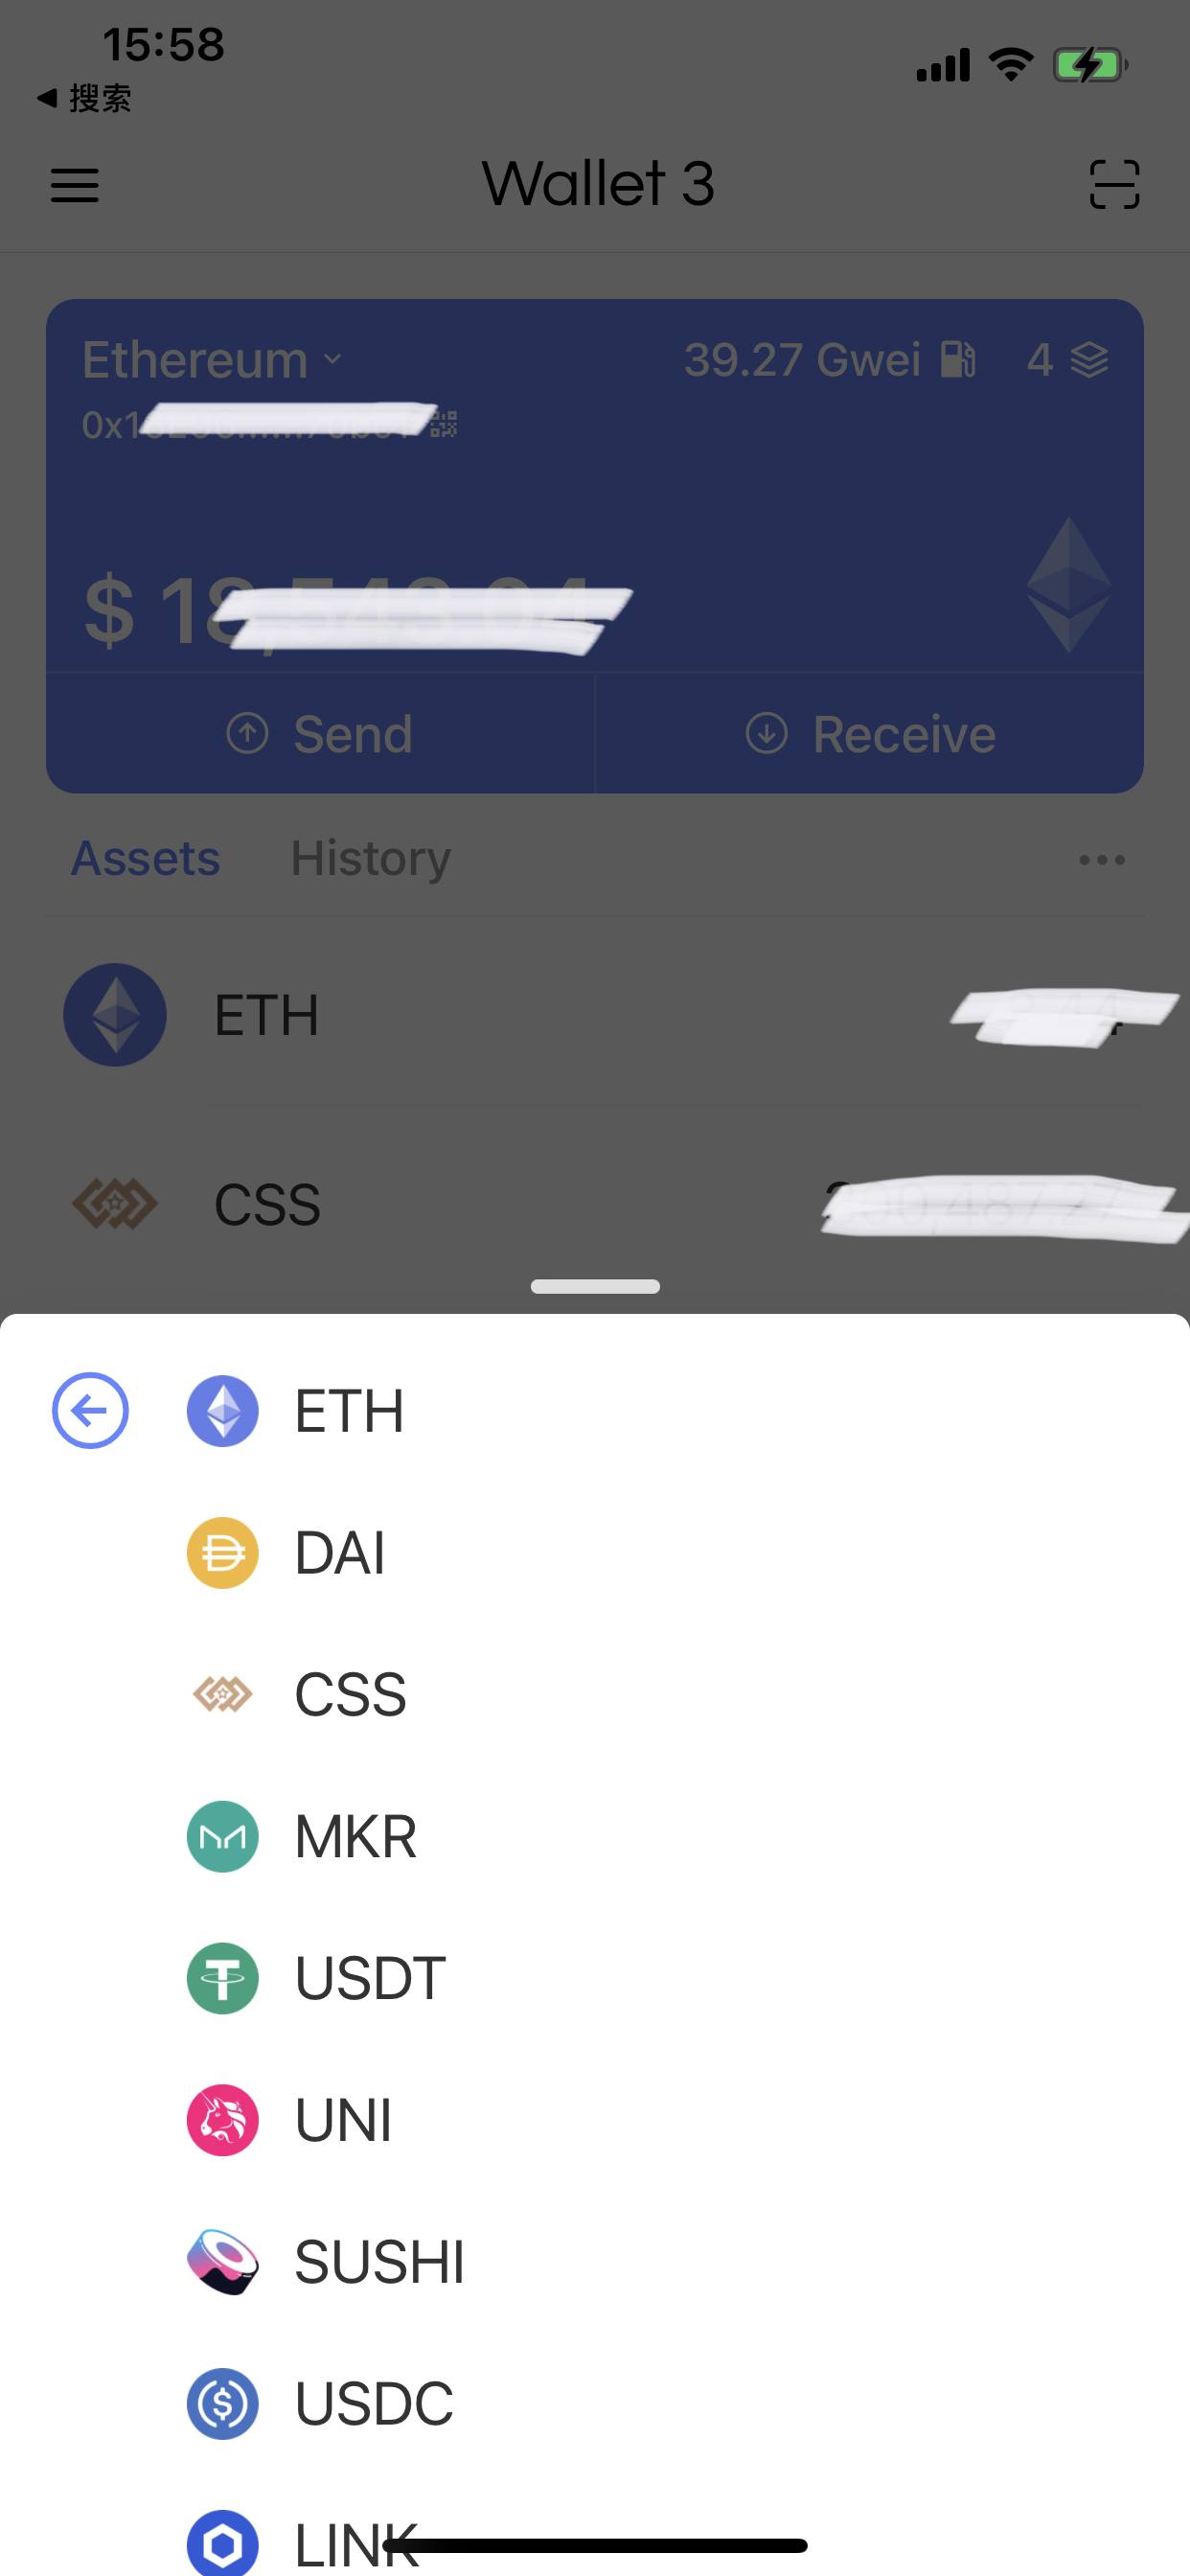
If you want to view your own ERC20 tokens, click the “…” icon to the right of the asset to enter the token interface. Just turn on the switch according to your preference.
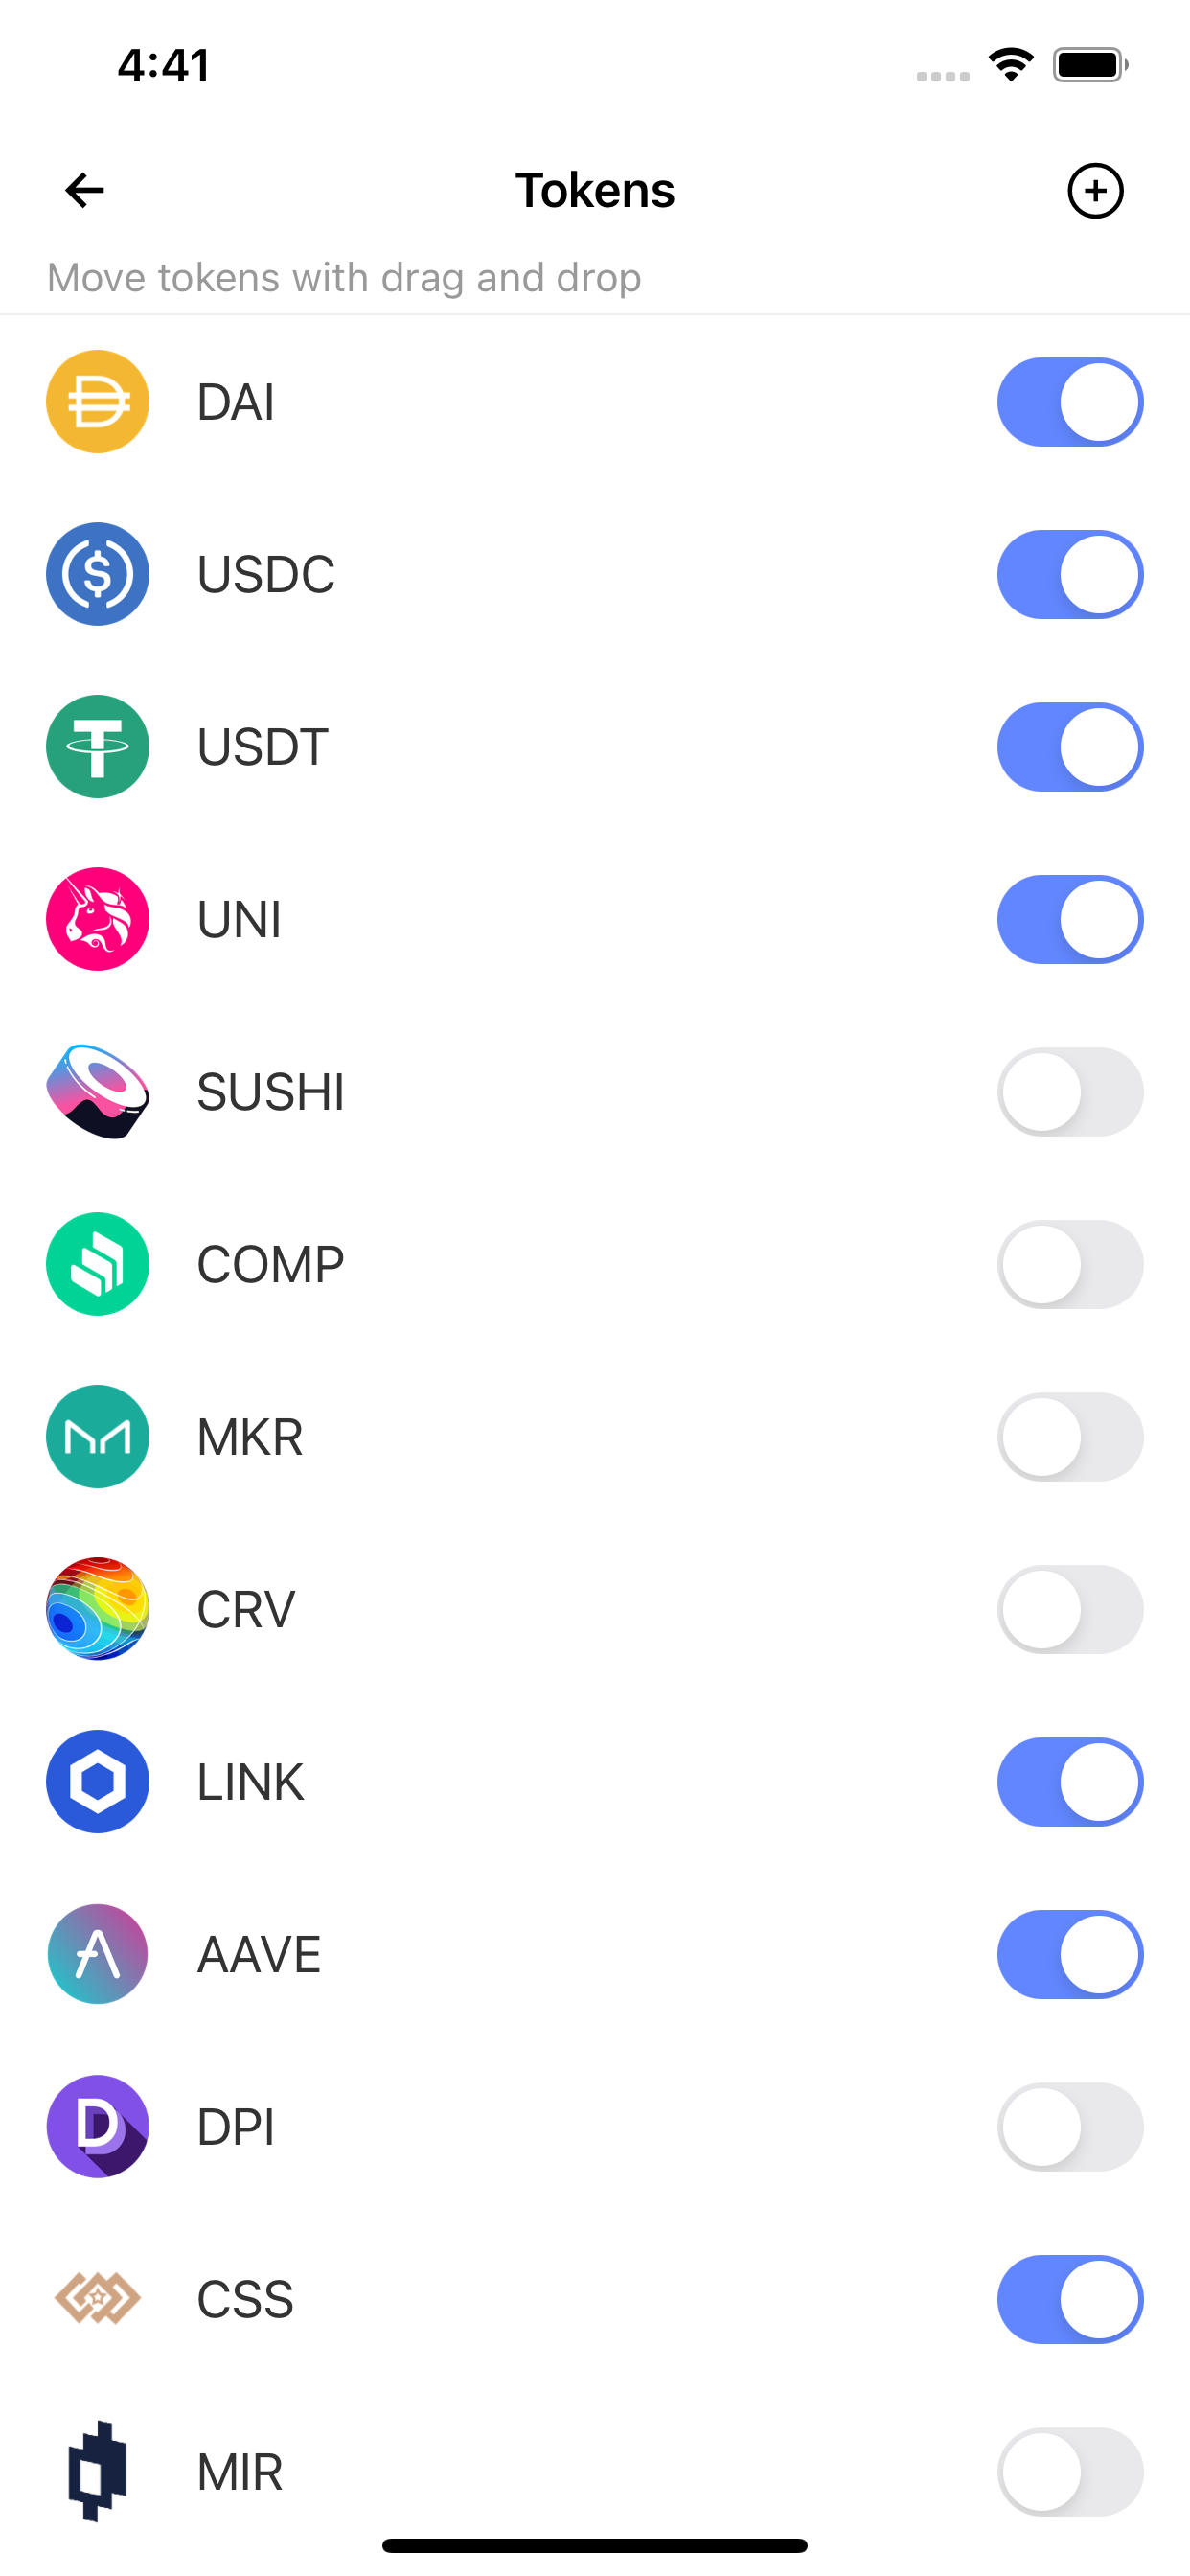
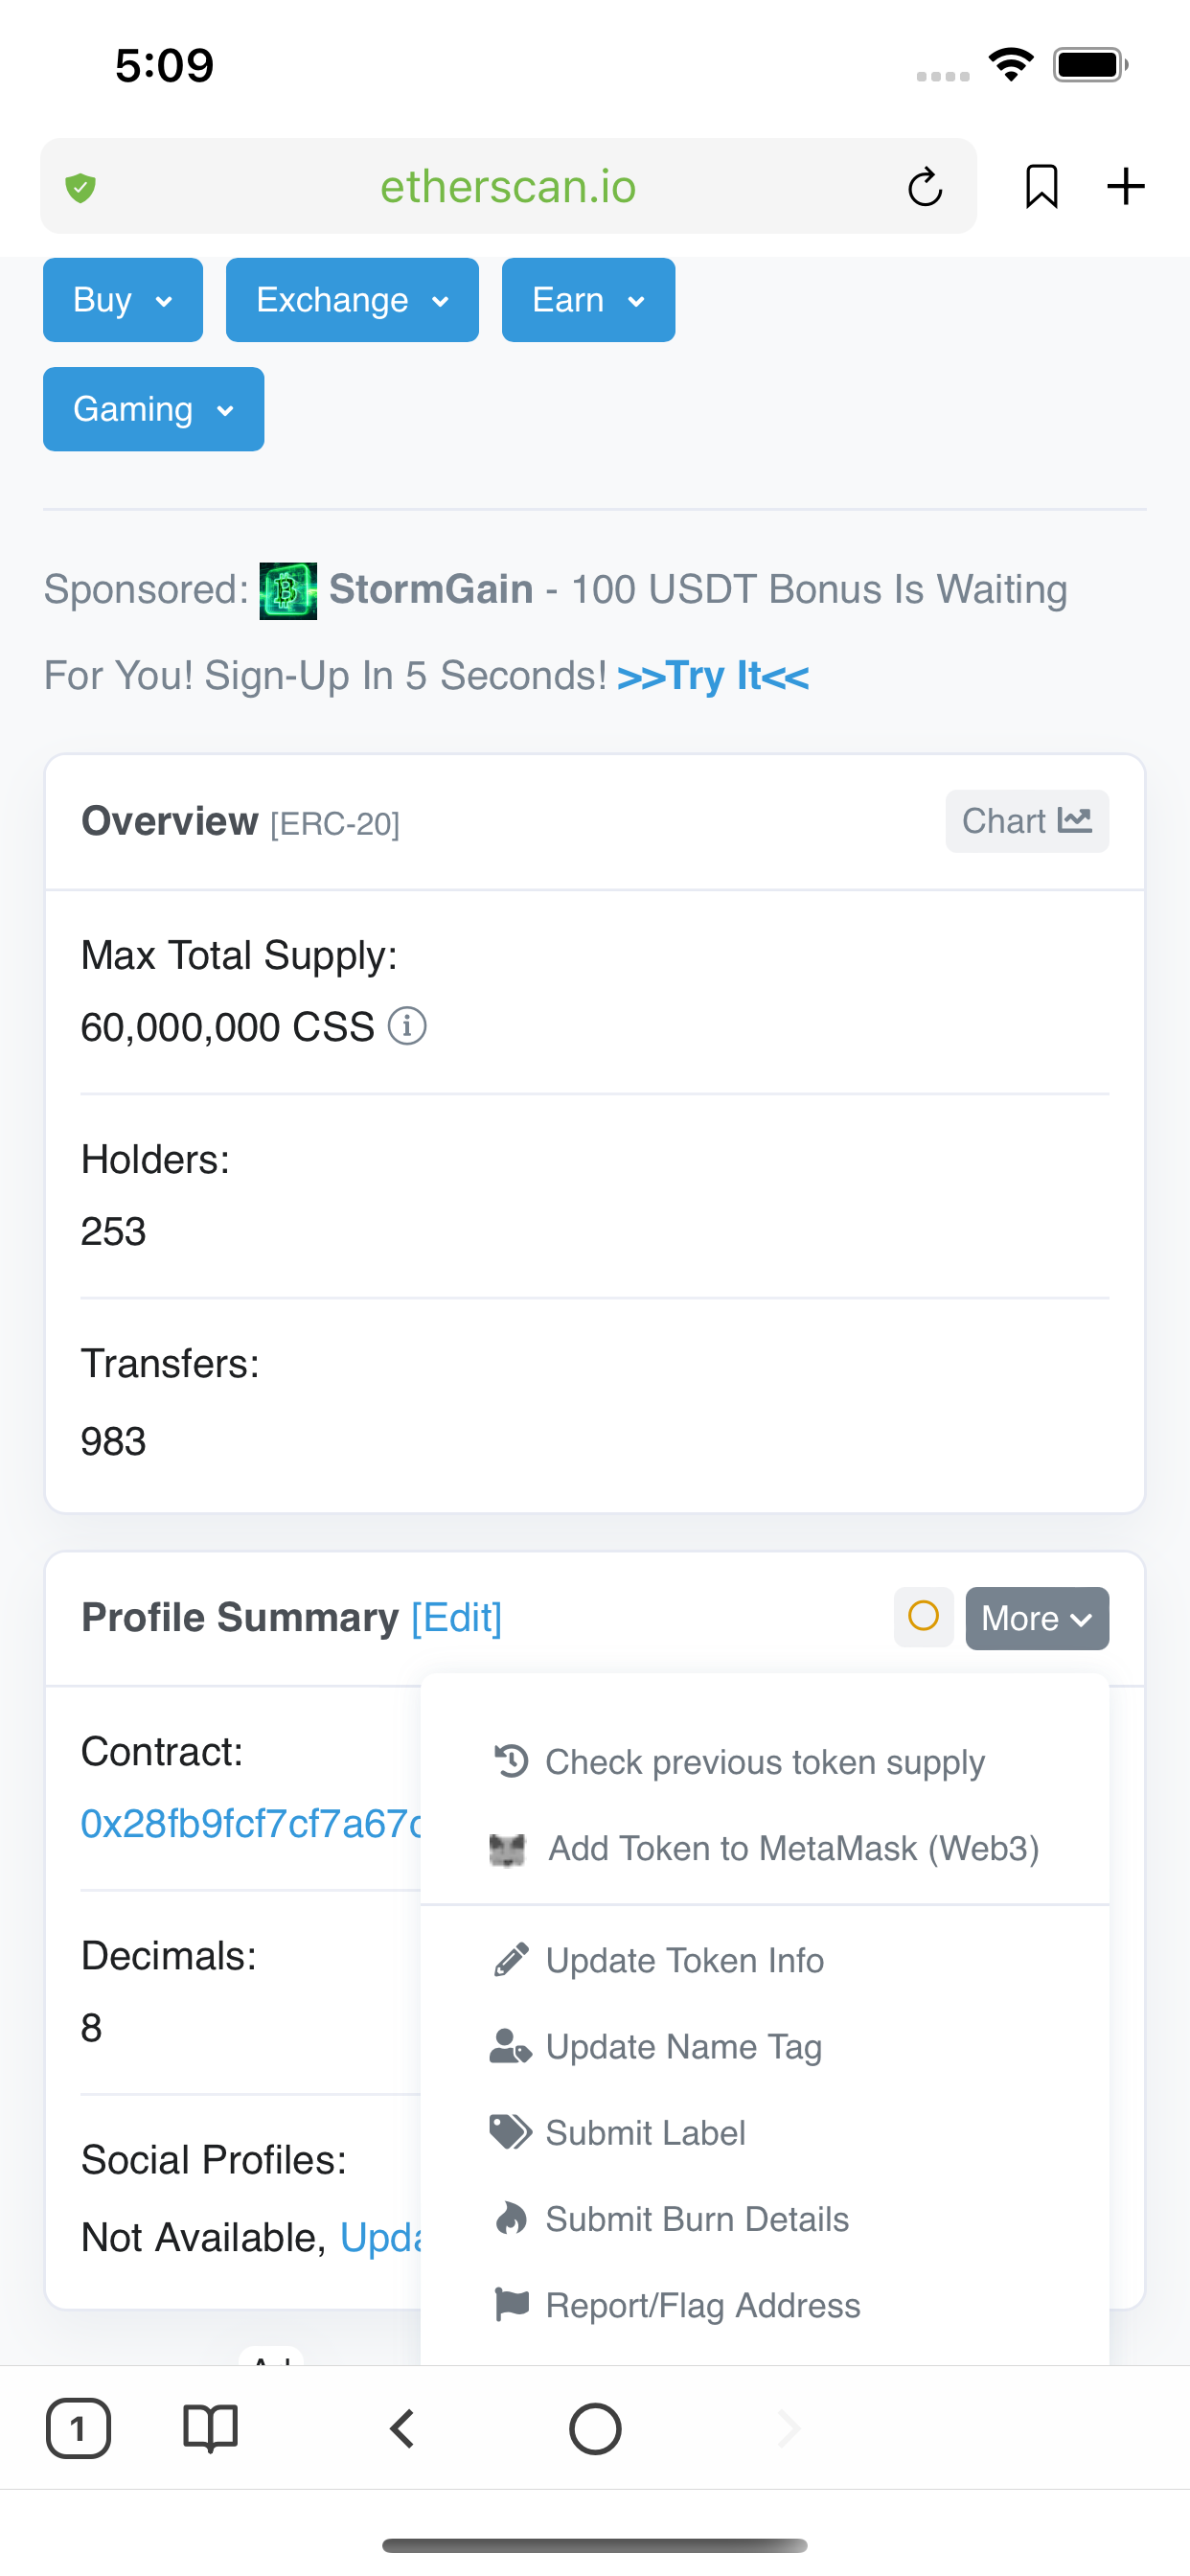
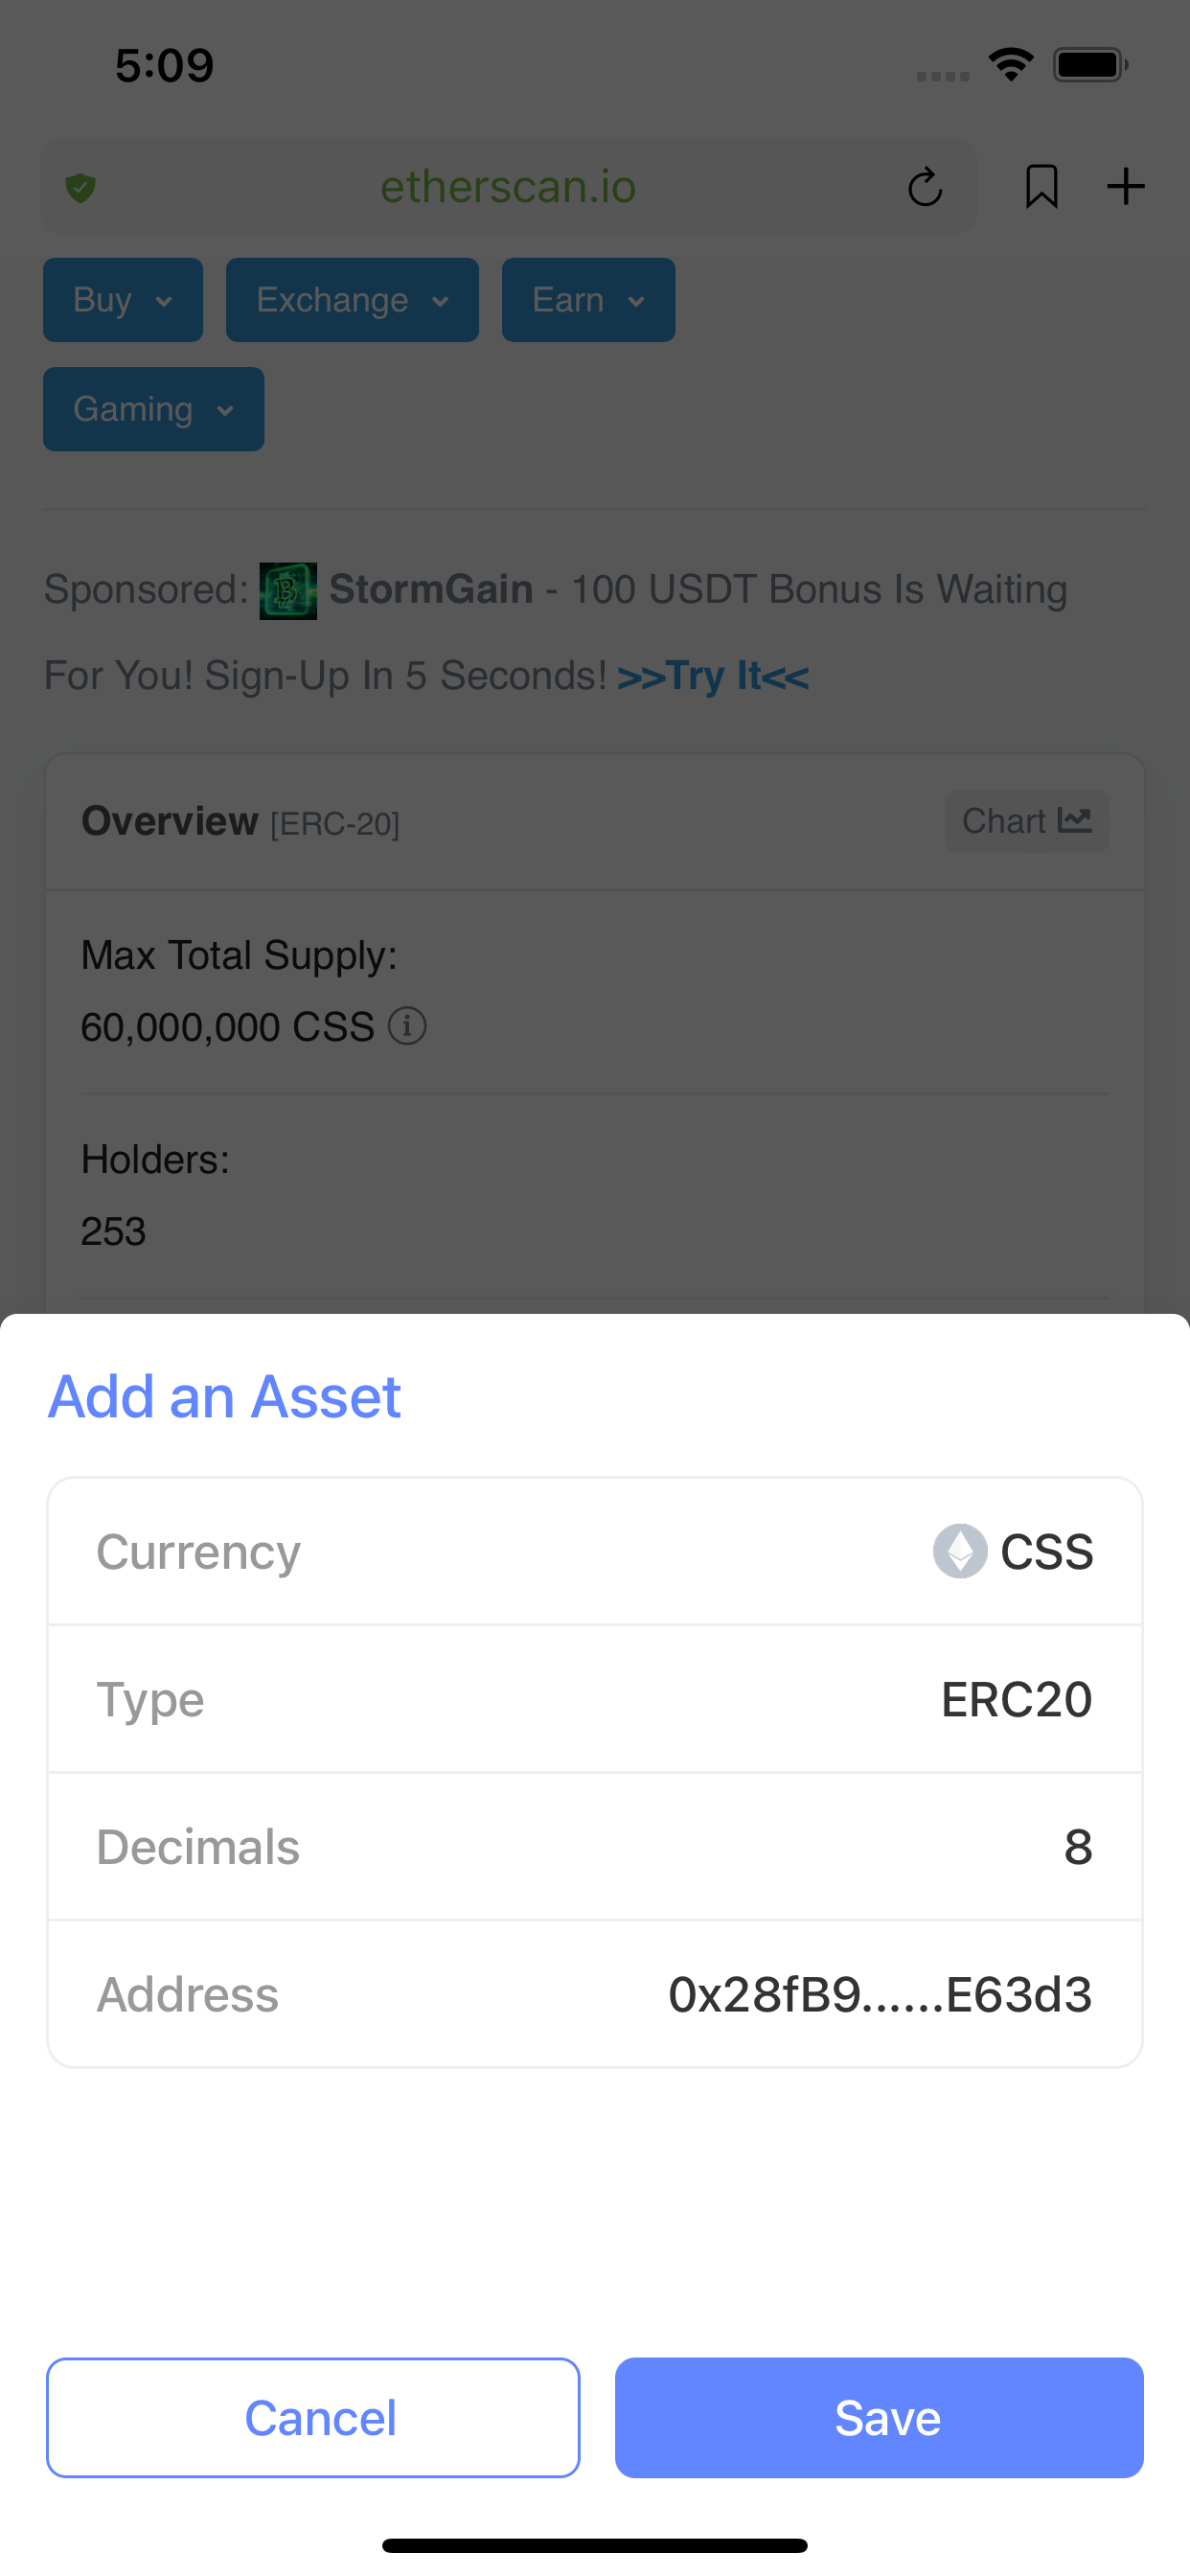
If you want to add a Token by yourself, click the + button, enter the address of the Token, and click Save.
You can also add Tokens to Wallet 3 through the "Add Token to MetaMask(Web3)" function of blockchain browsers such as etherscan.
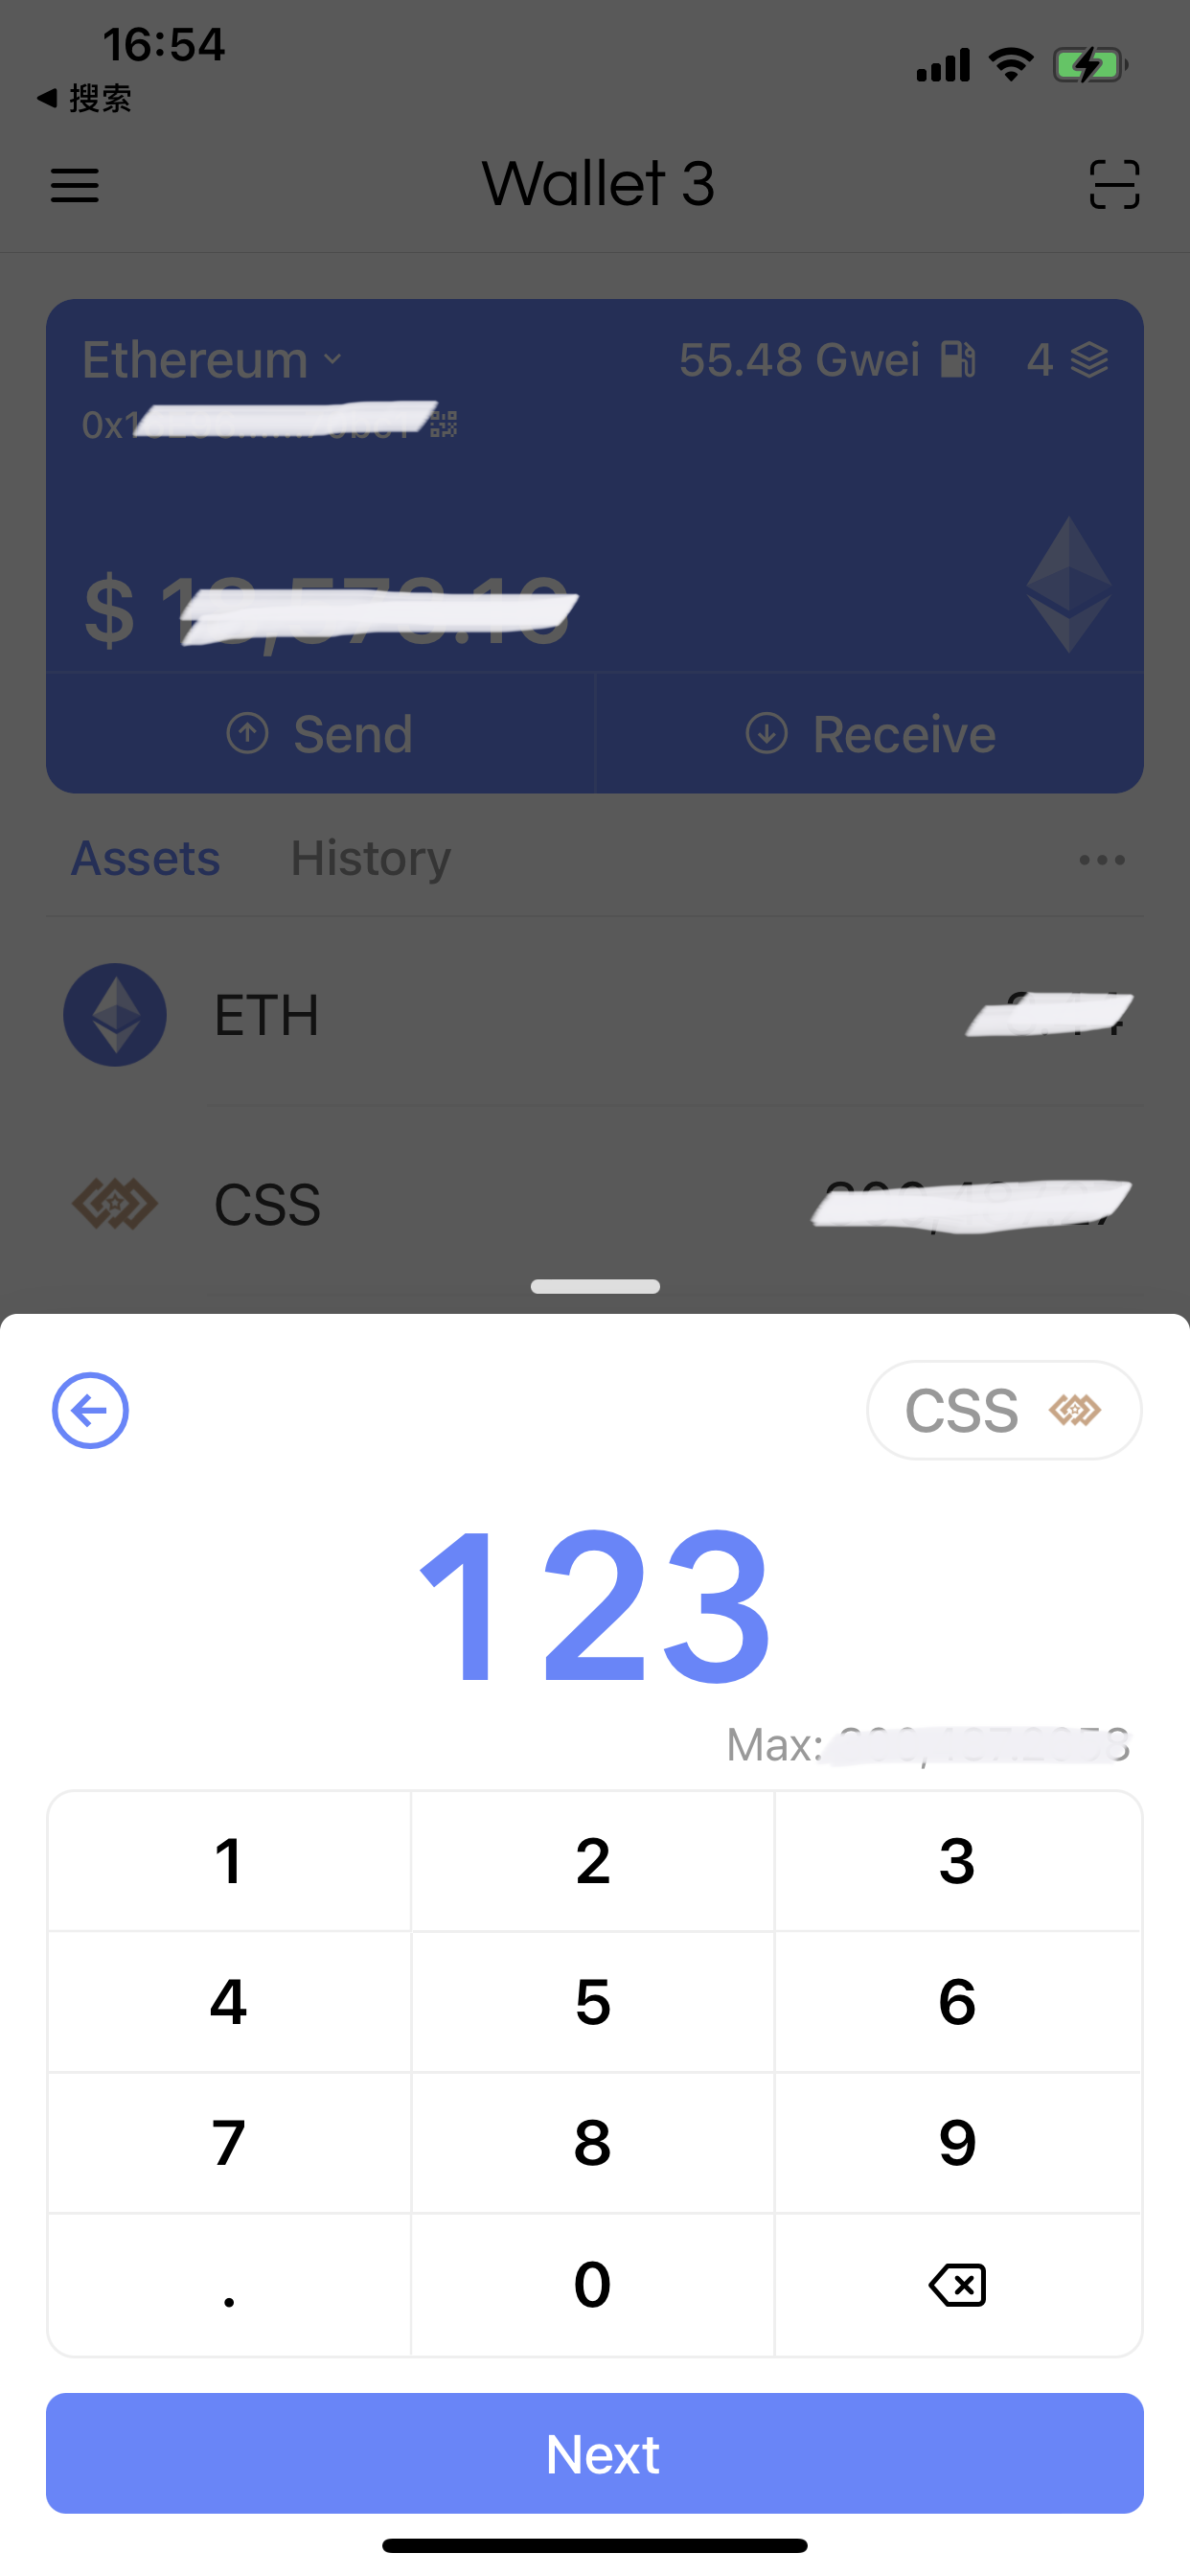
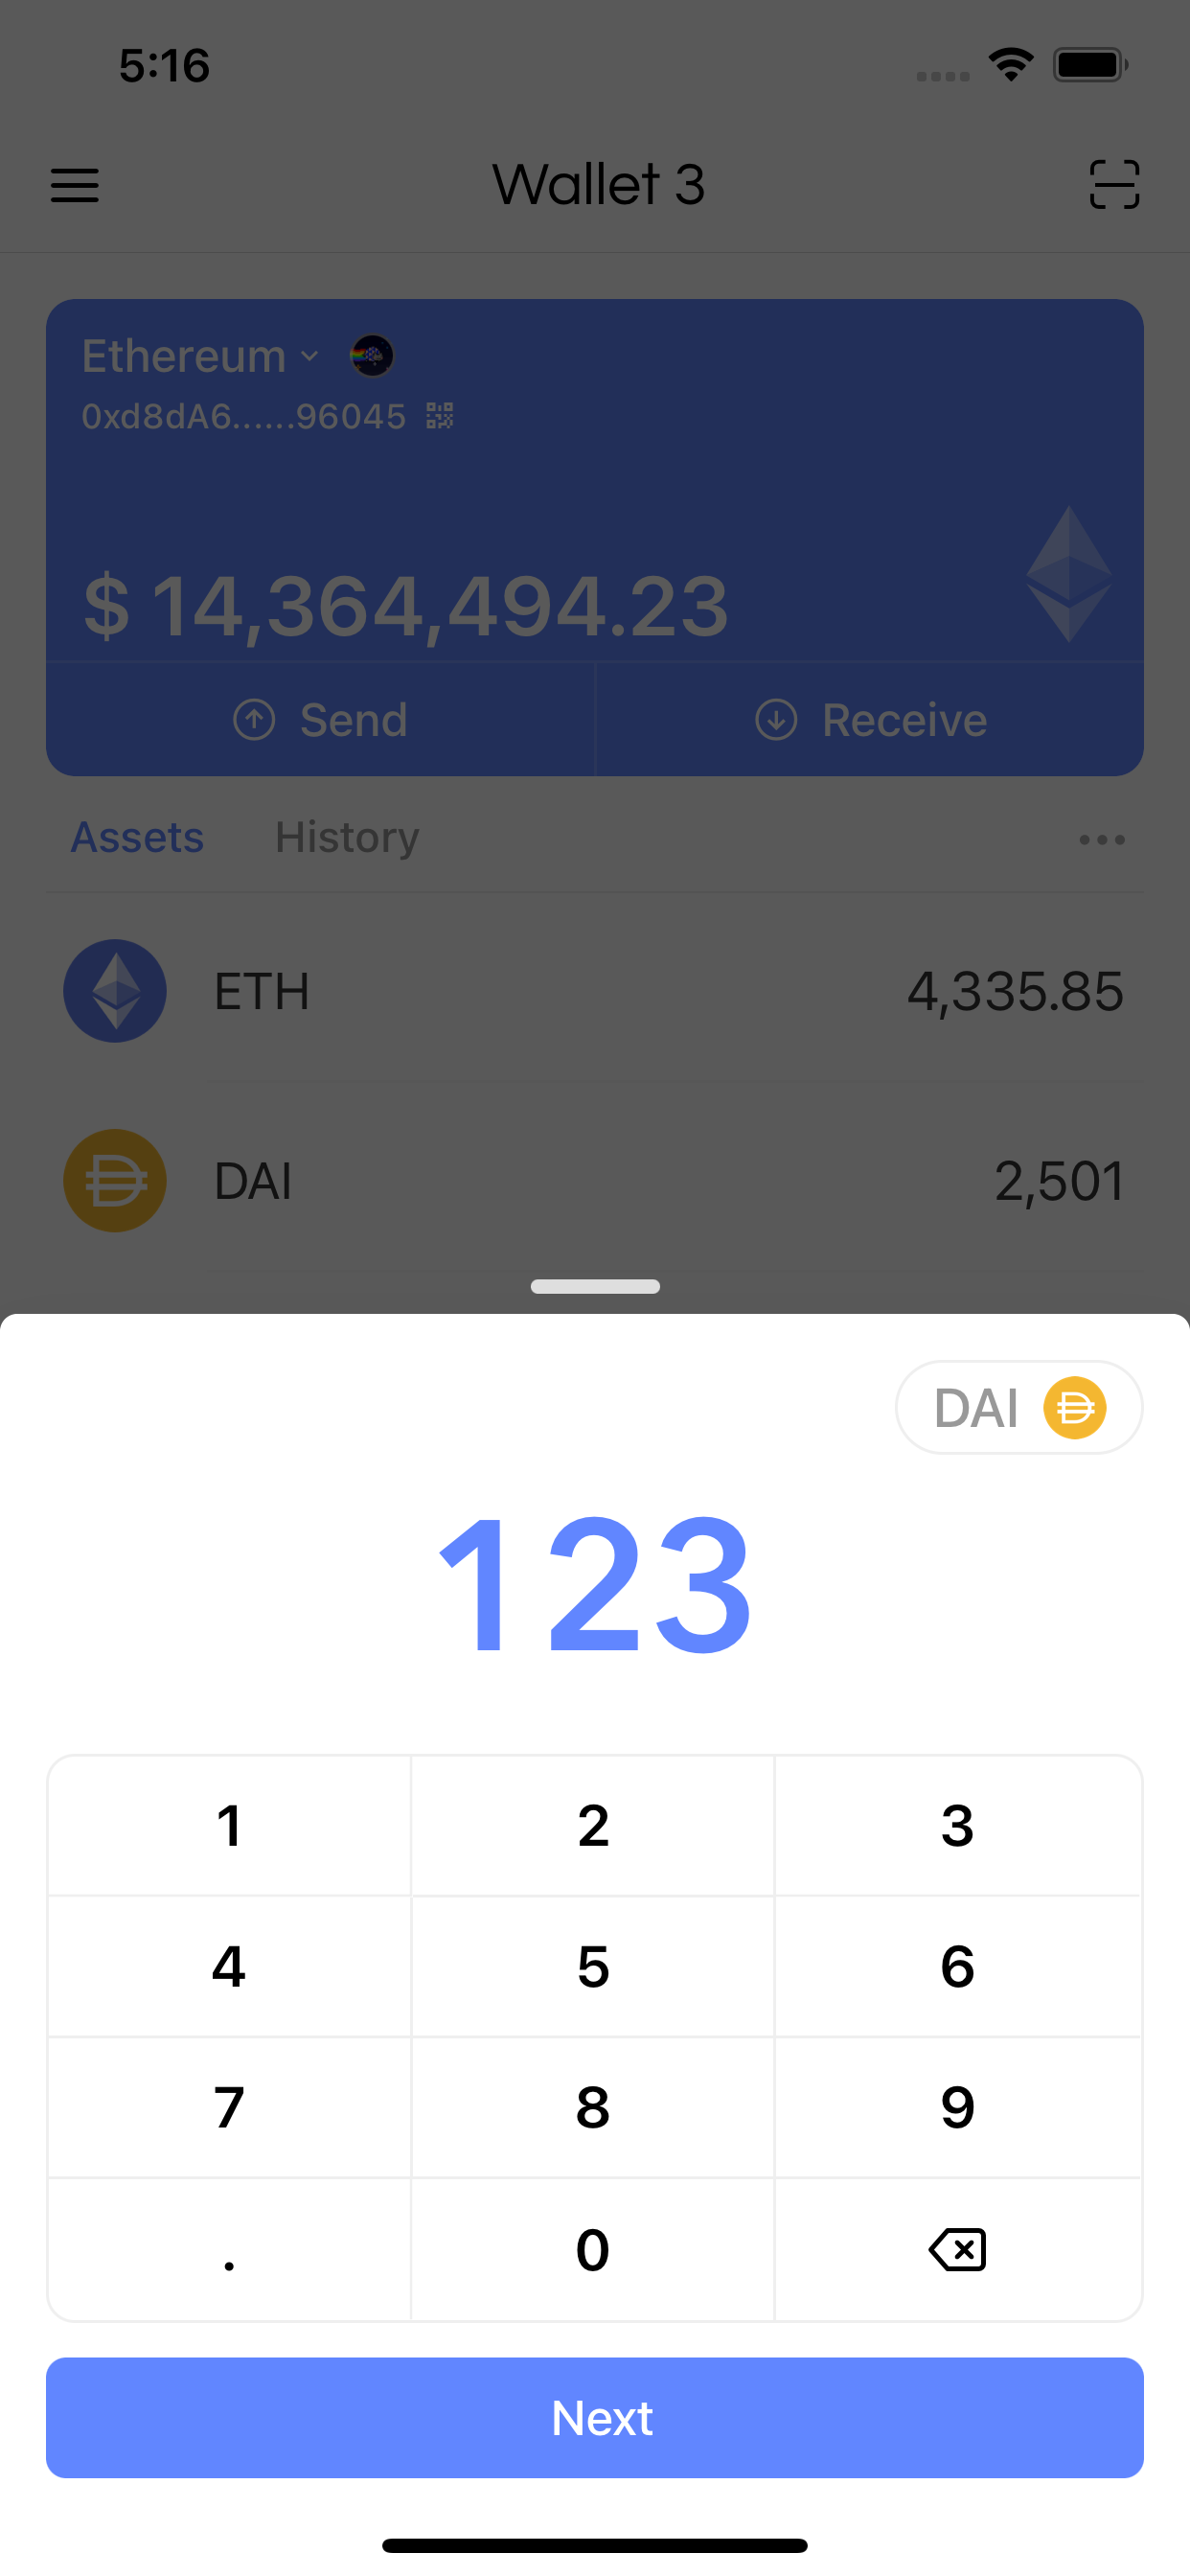
Transfer
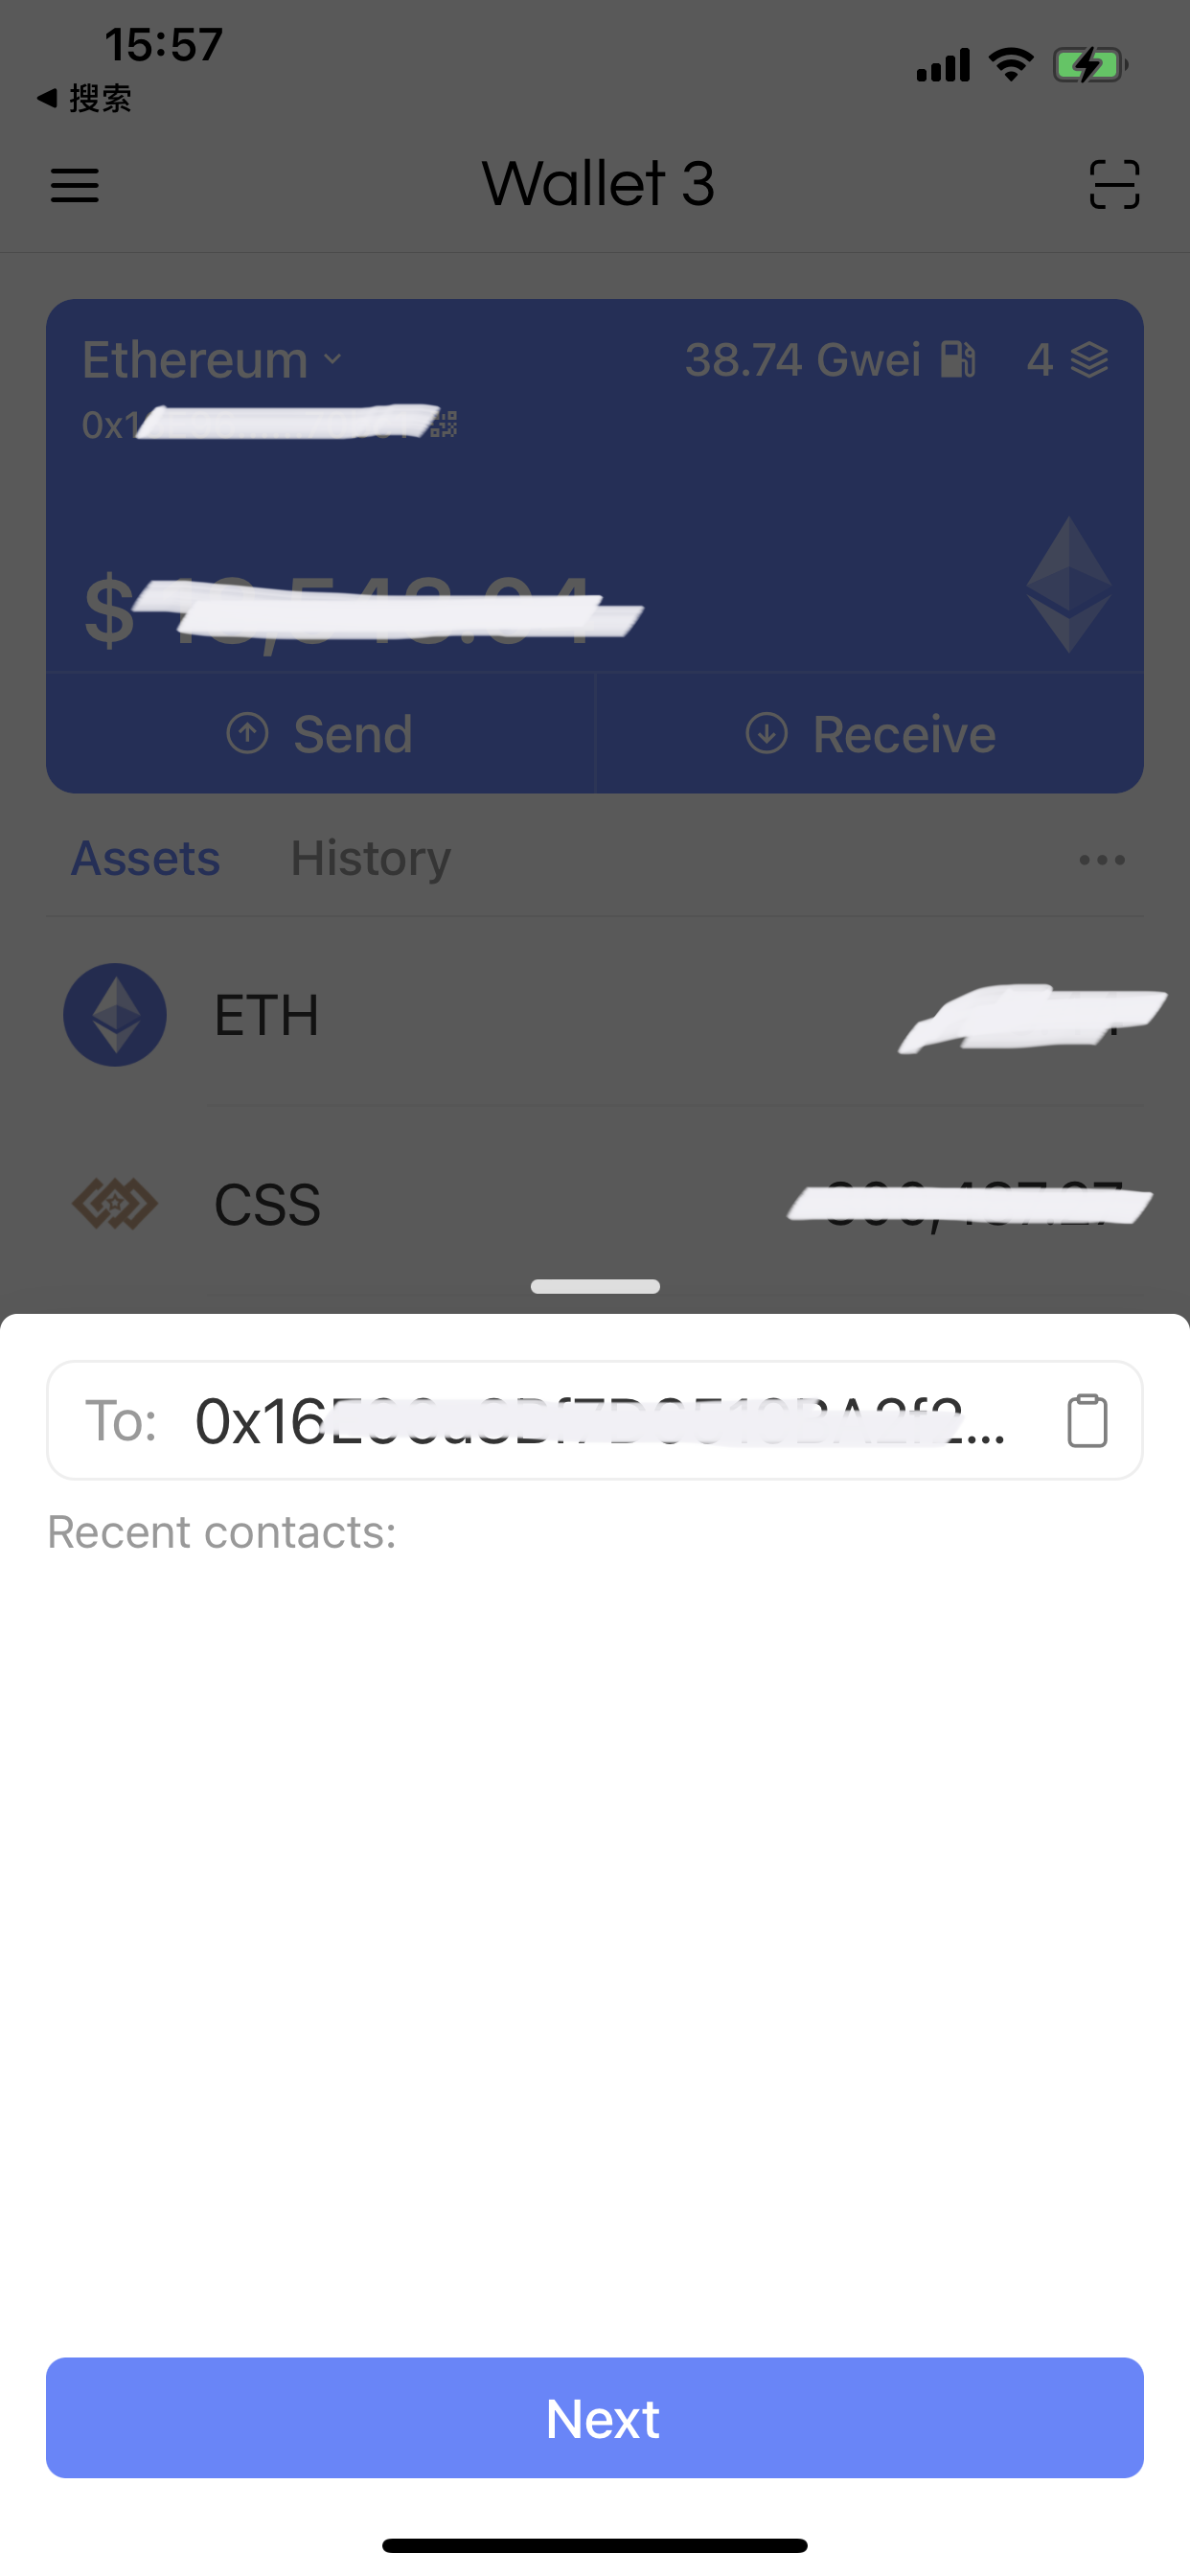
Go back to the main interface, click the "Send" button to enter the transfer interface. Fill in the recipient's address and input the amount.
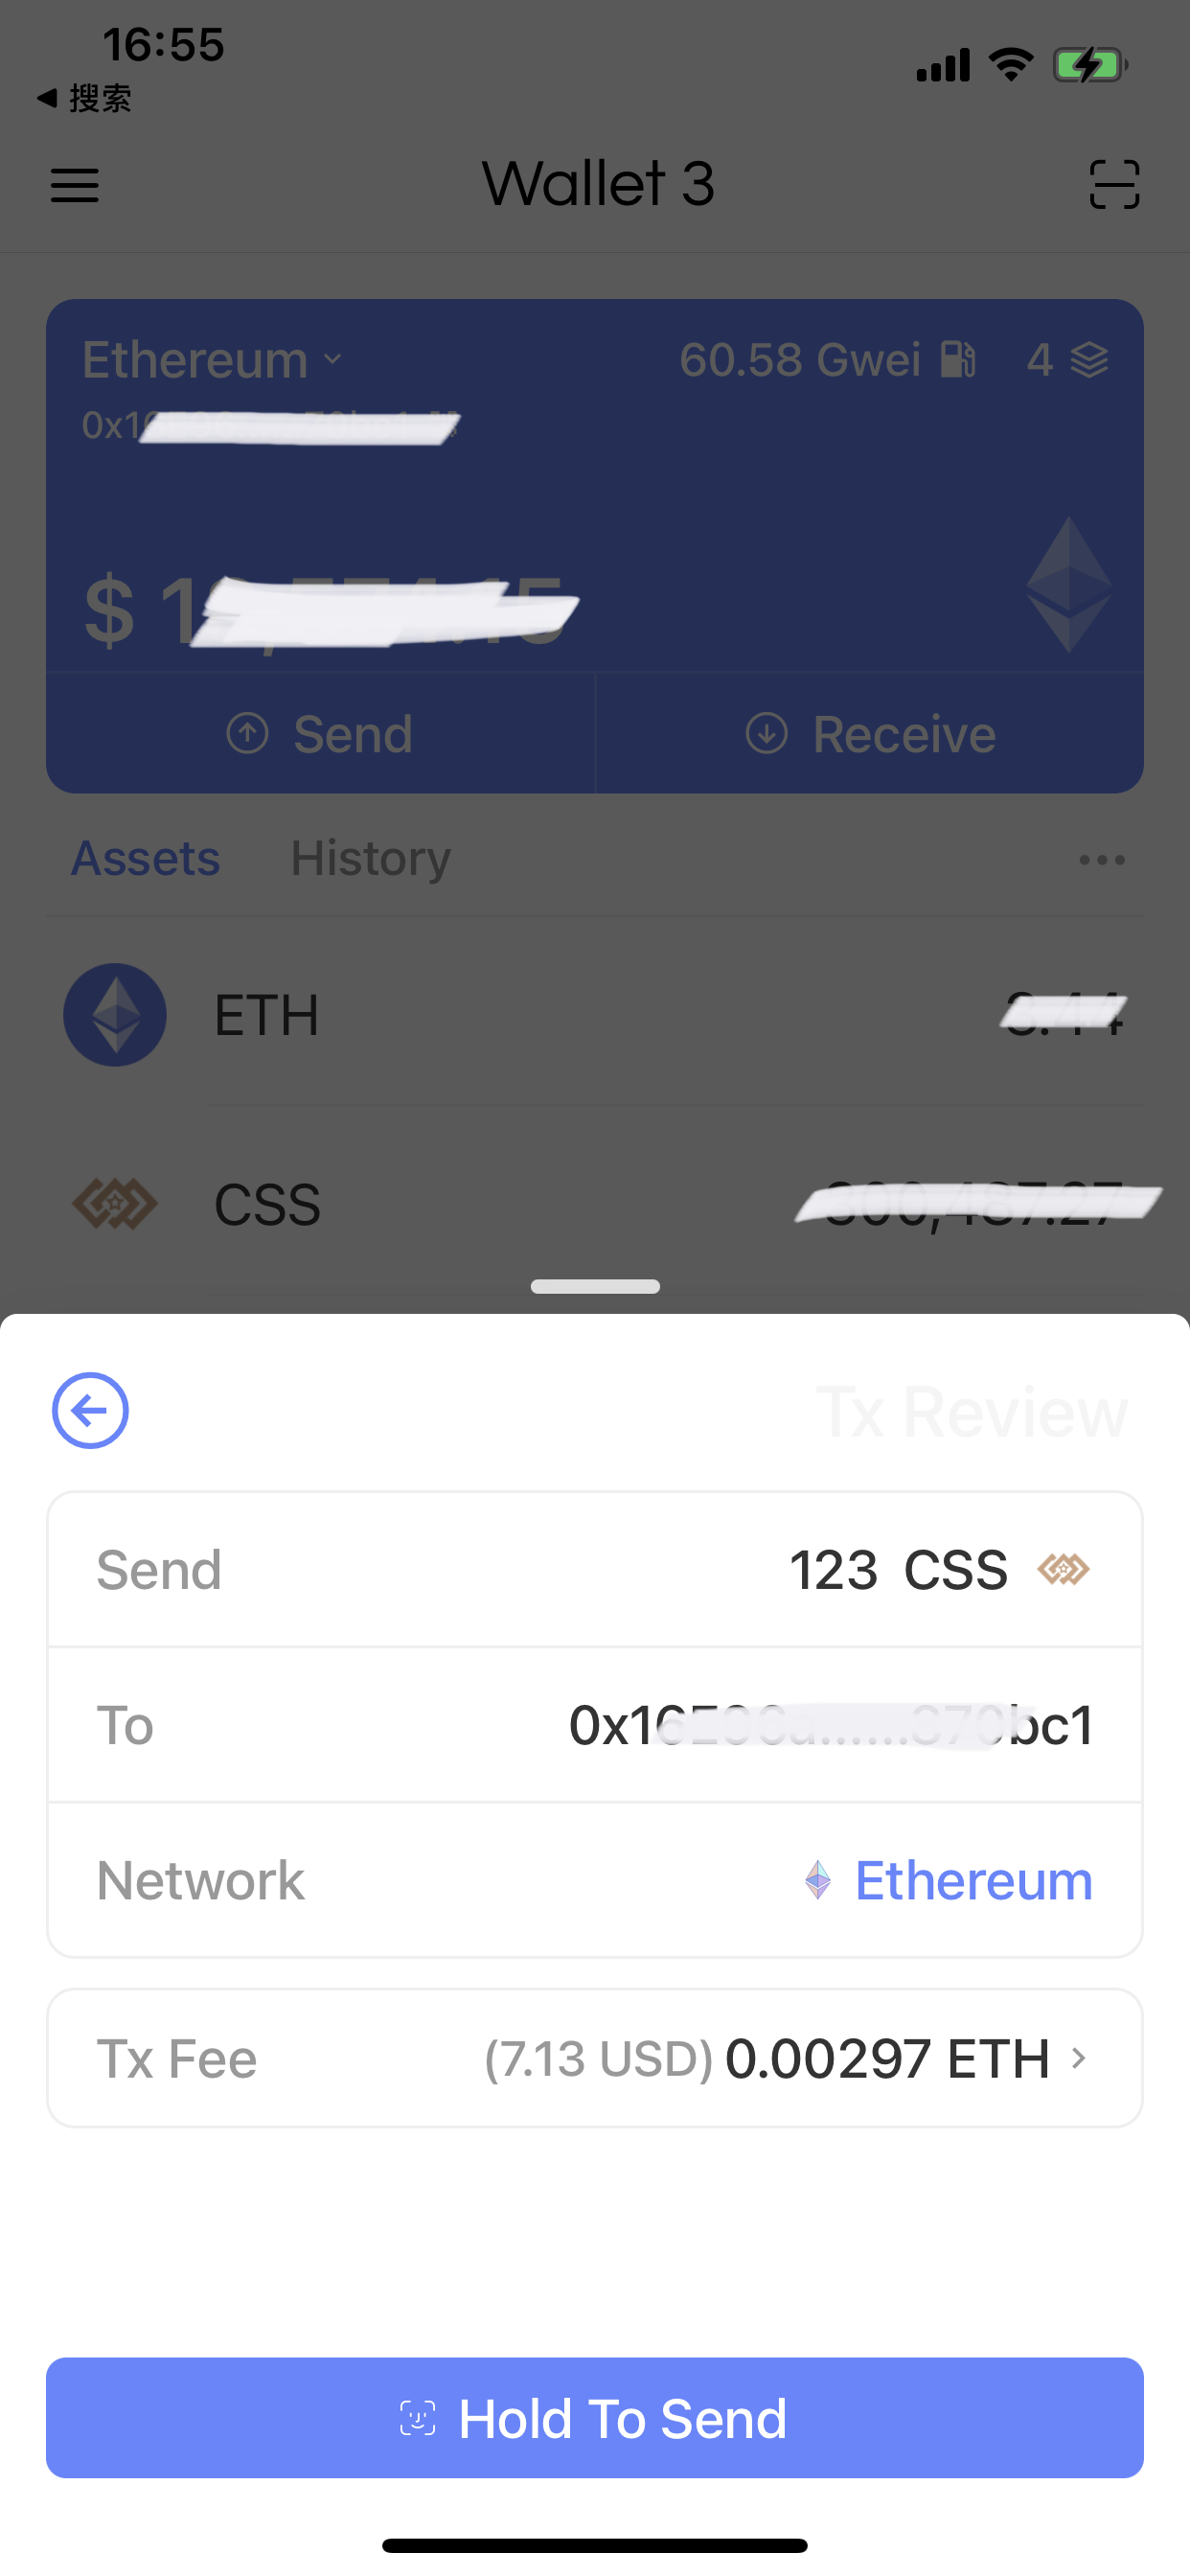
At this point, you can adjust the transaction serial number, fuel price, etc. If you are not clear about these things, you can just ignore them and click "Send". The wallet will pop up a confirmation dialog.
In this step, you still have the opportunity to adjust some trading parameters. After confirmation, click "Continue". After that, the wallet will require security authentication, touch your Touch ID, and the transaction will be sent after the authentication is passed.
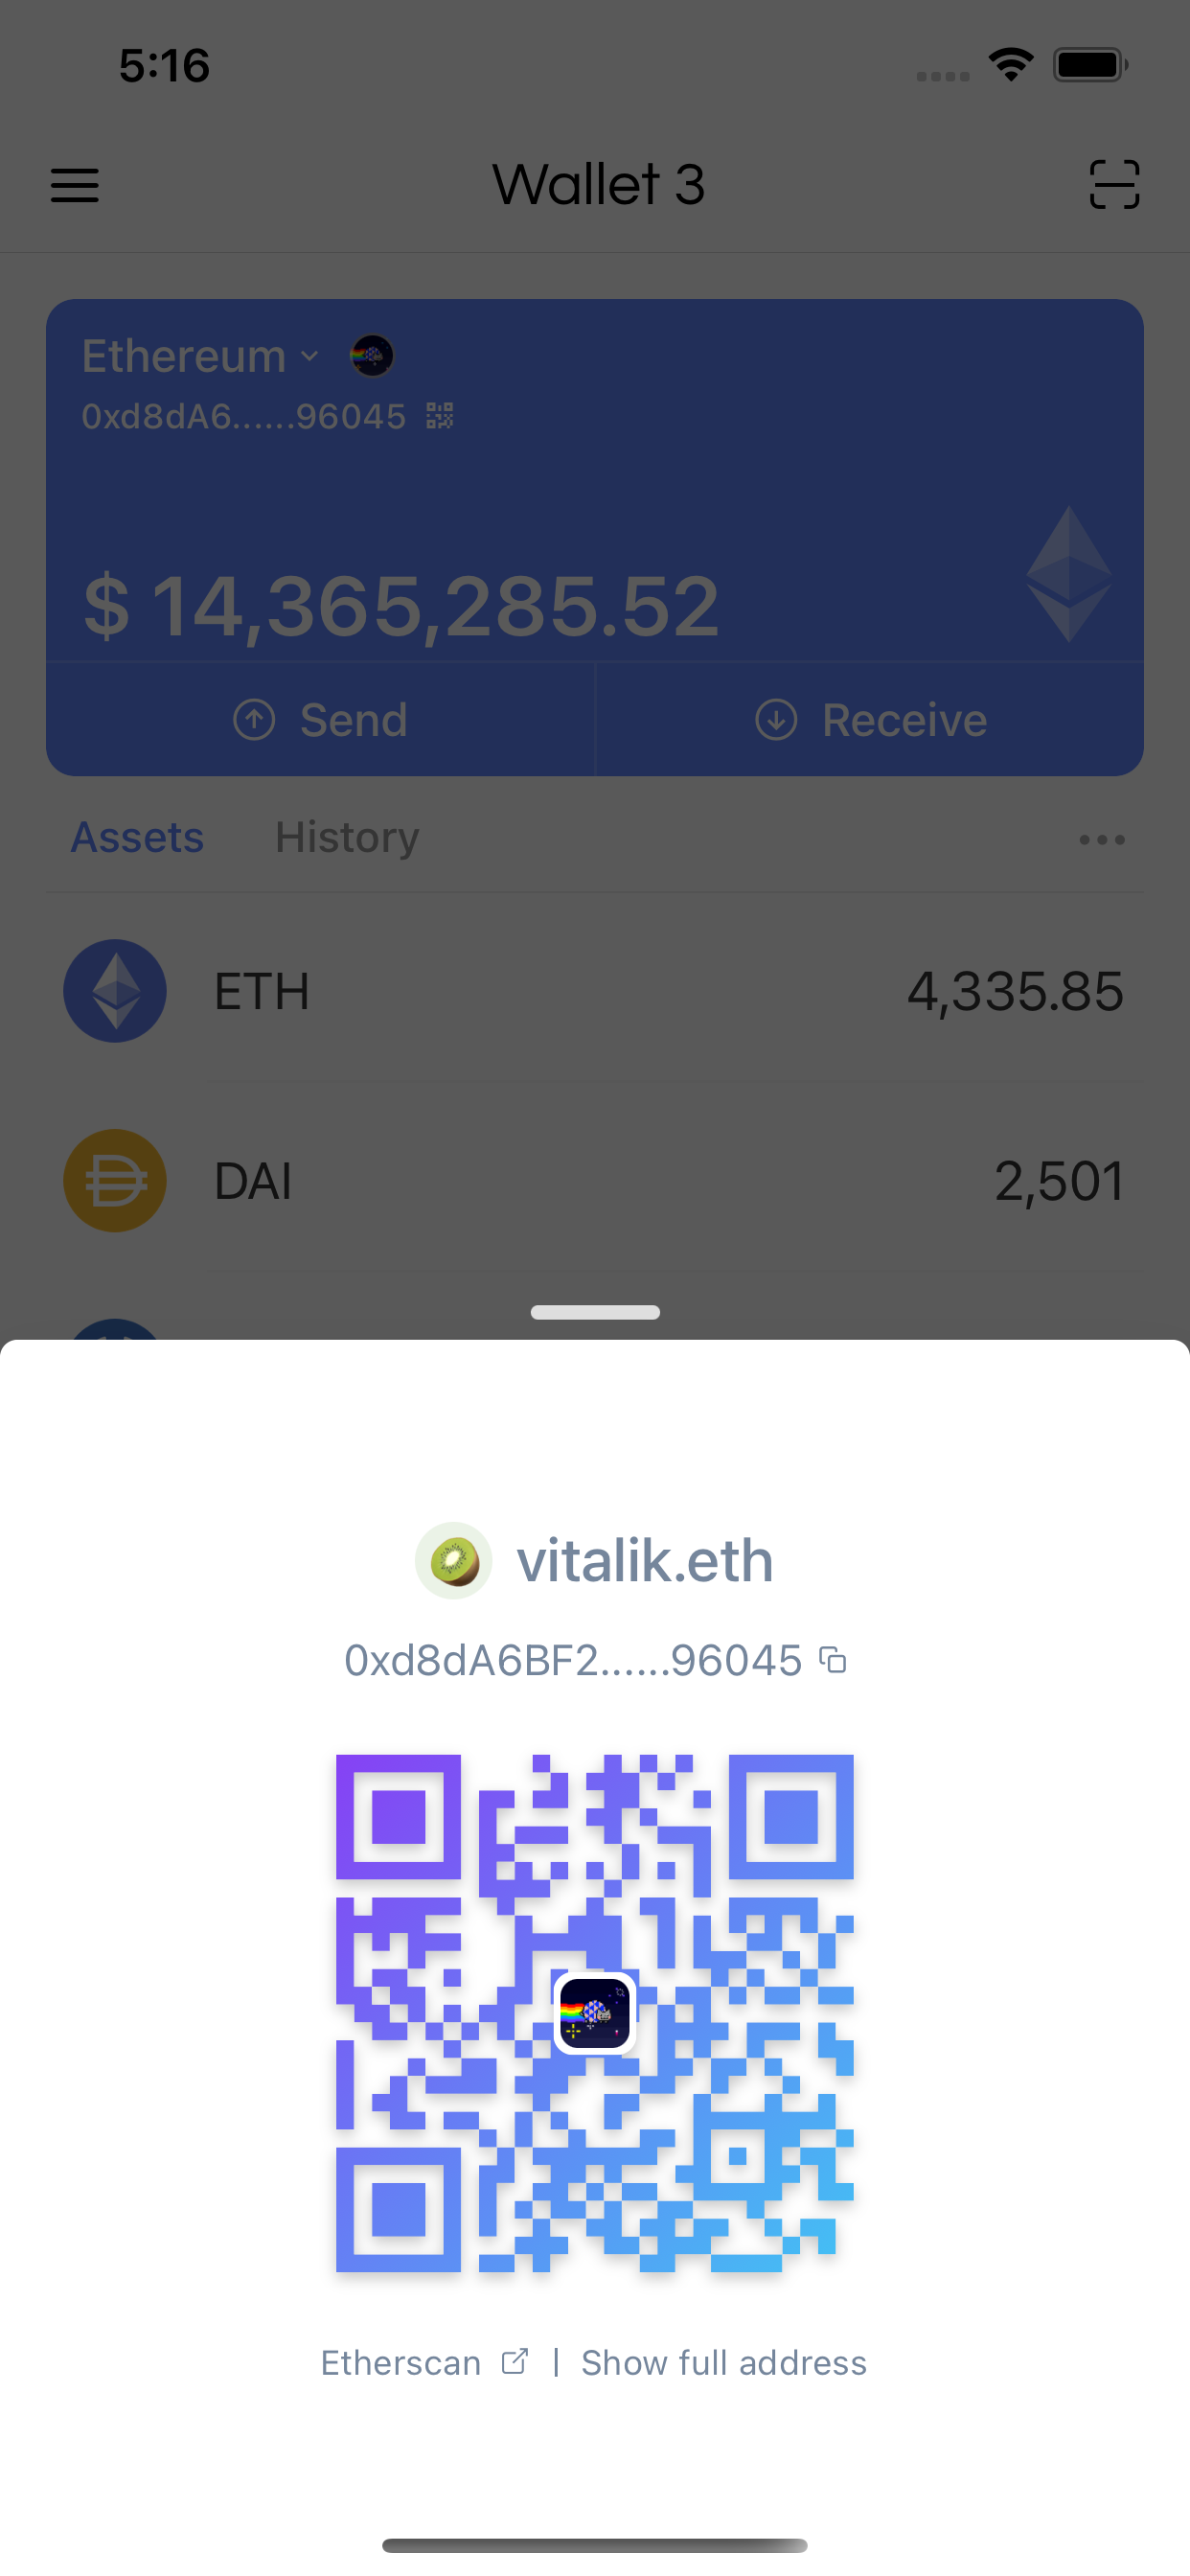
Receive
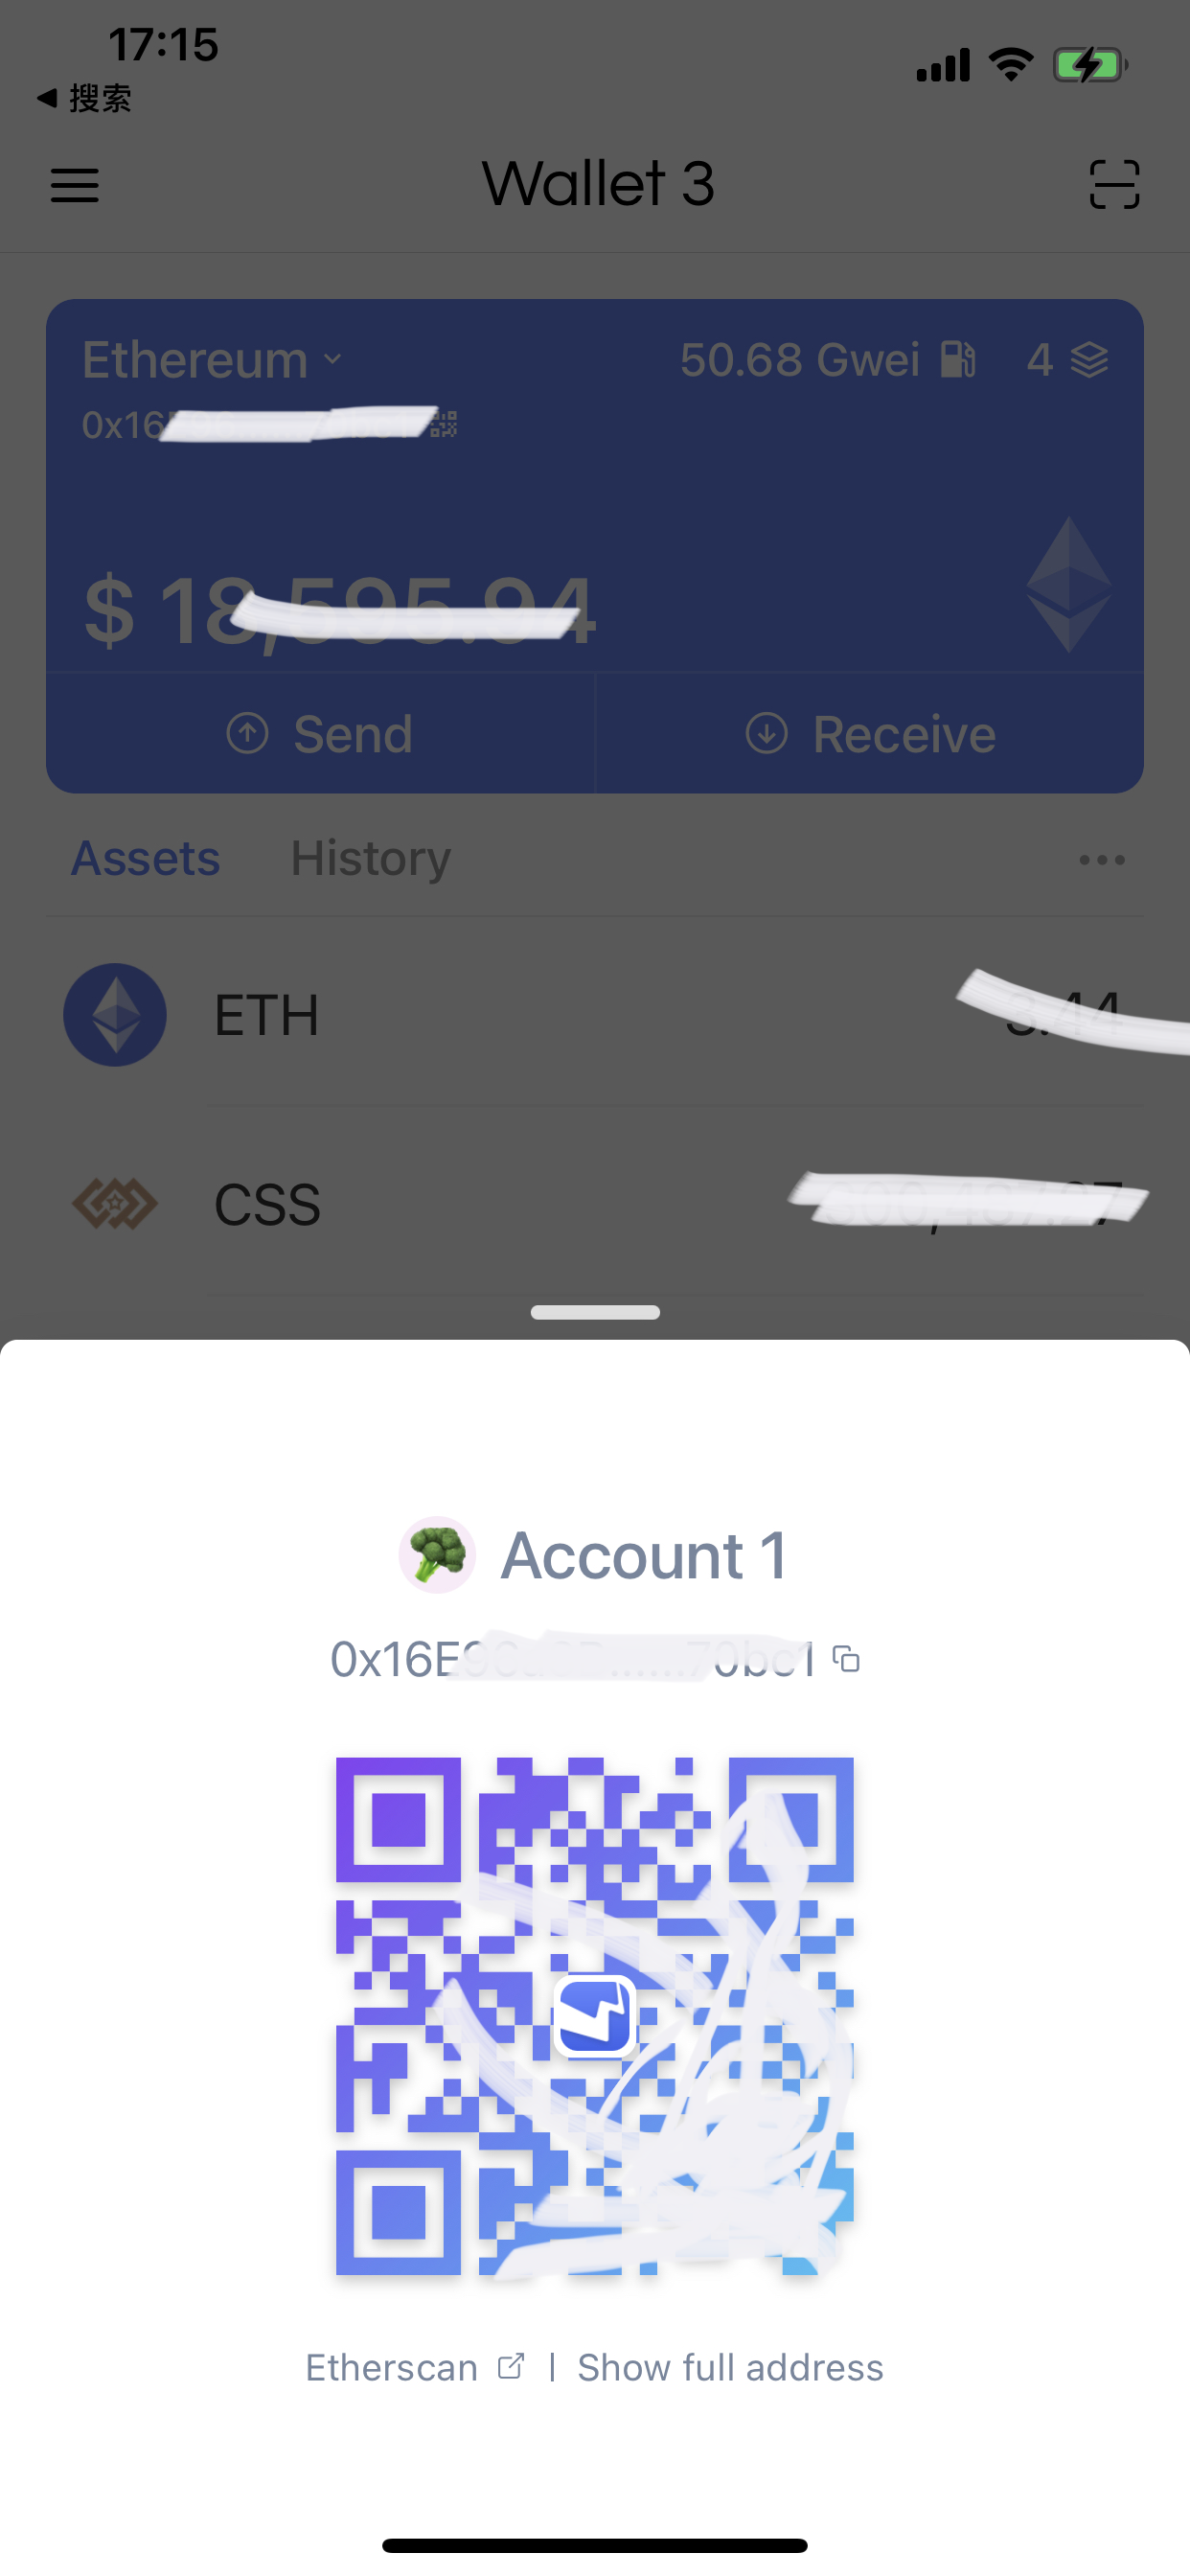
Go back to the main interface, click the "Profile" on the upper right to enter the account information interface.
You can take a screenshot of this screen and click the copy button to the right of the 0x address to share it with others as the receiving address.
You can also click the payment button to specify the payment amount, and the QR code formed contains the amount information.
Settings
Click the button on the upper right, you can enter the settings information interface.
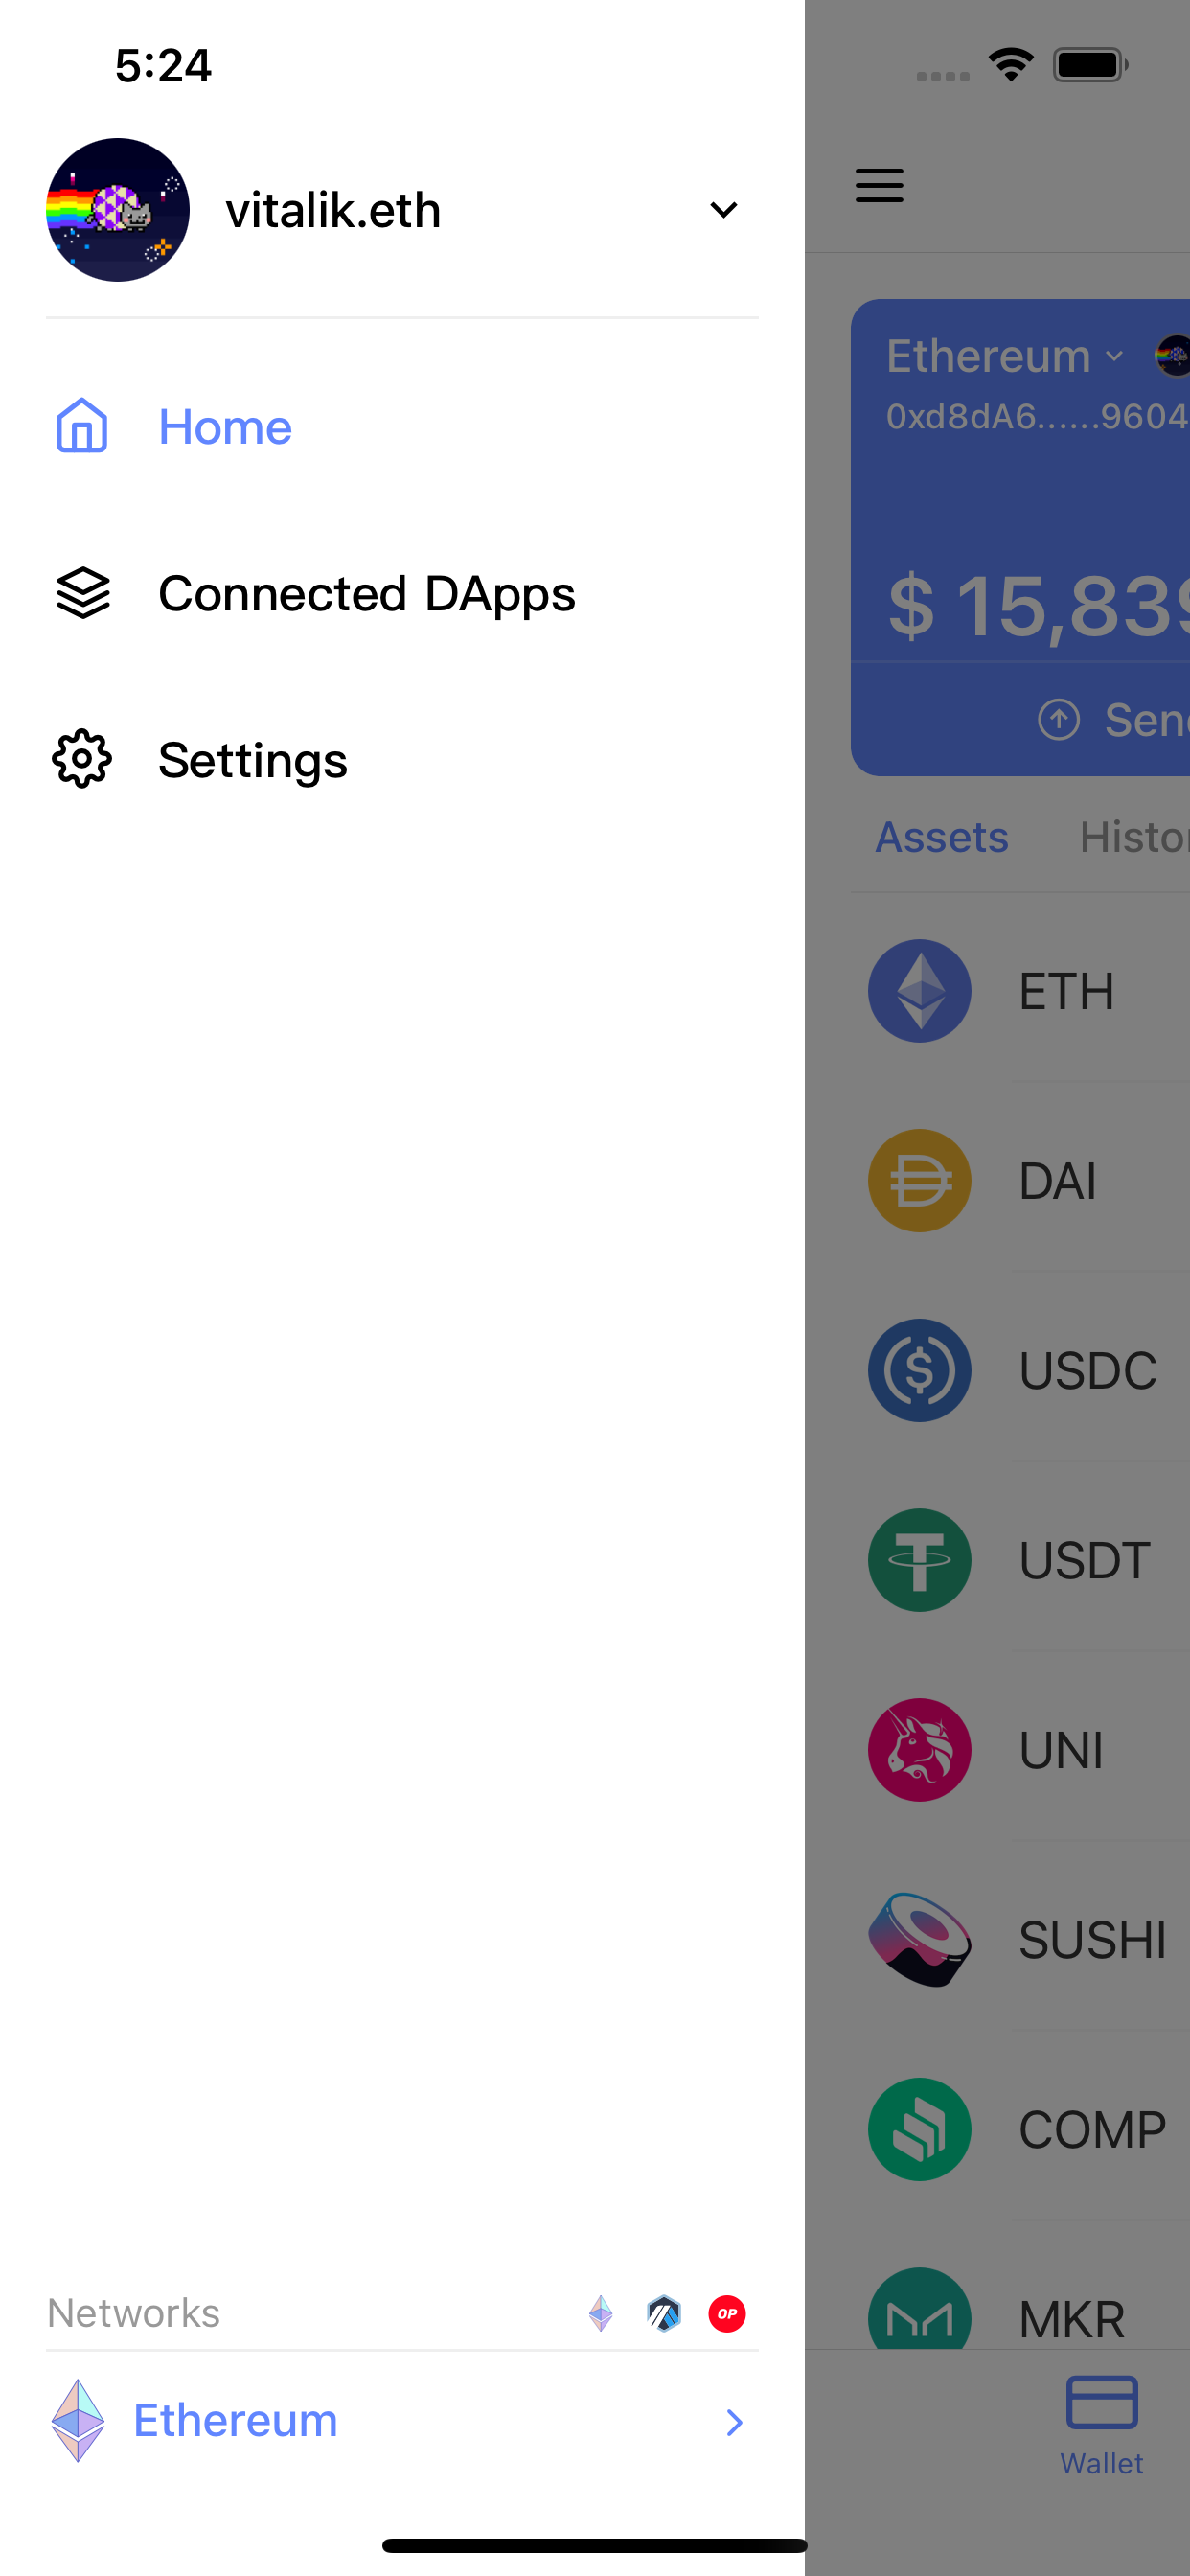
You can switch the account in the Settings. As well, you can create or import a mnemonic code or private key to create a wallet.
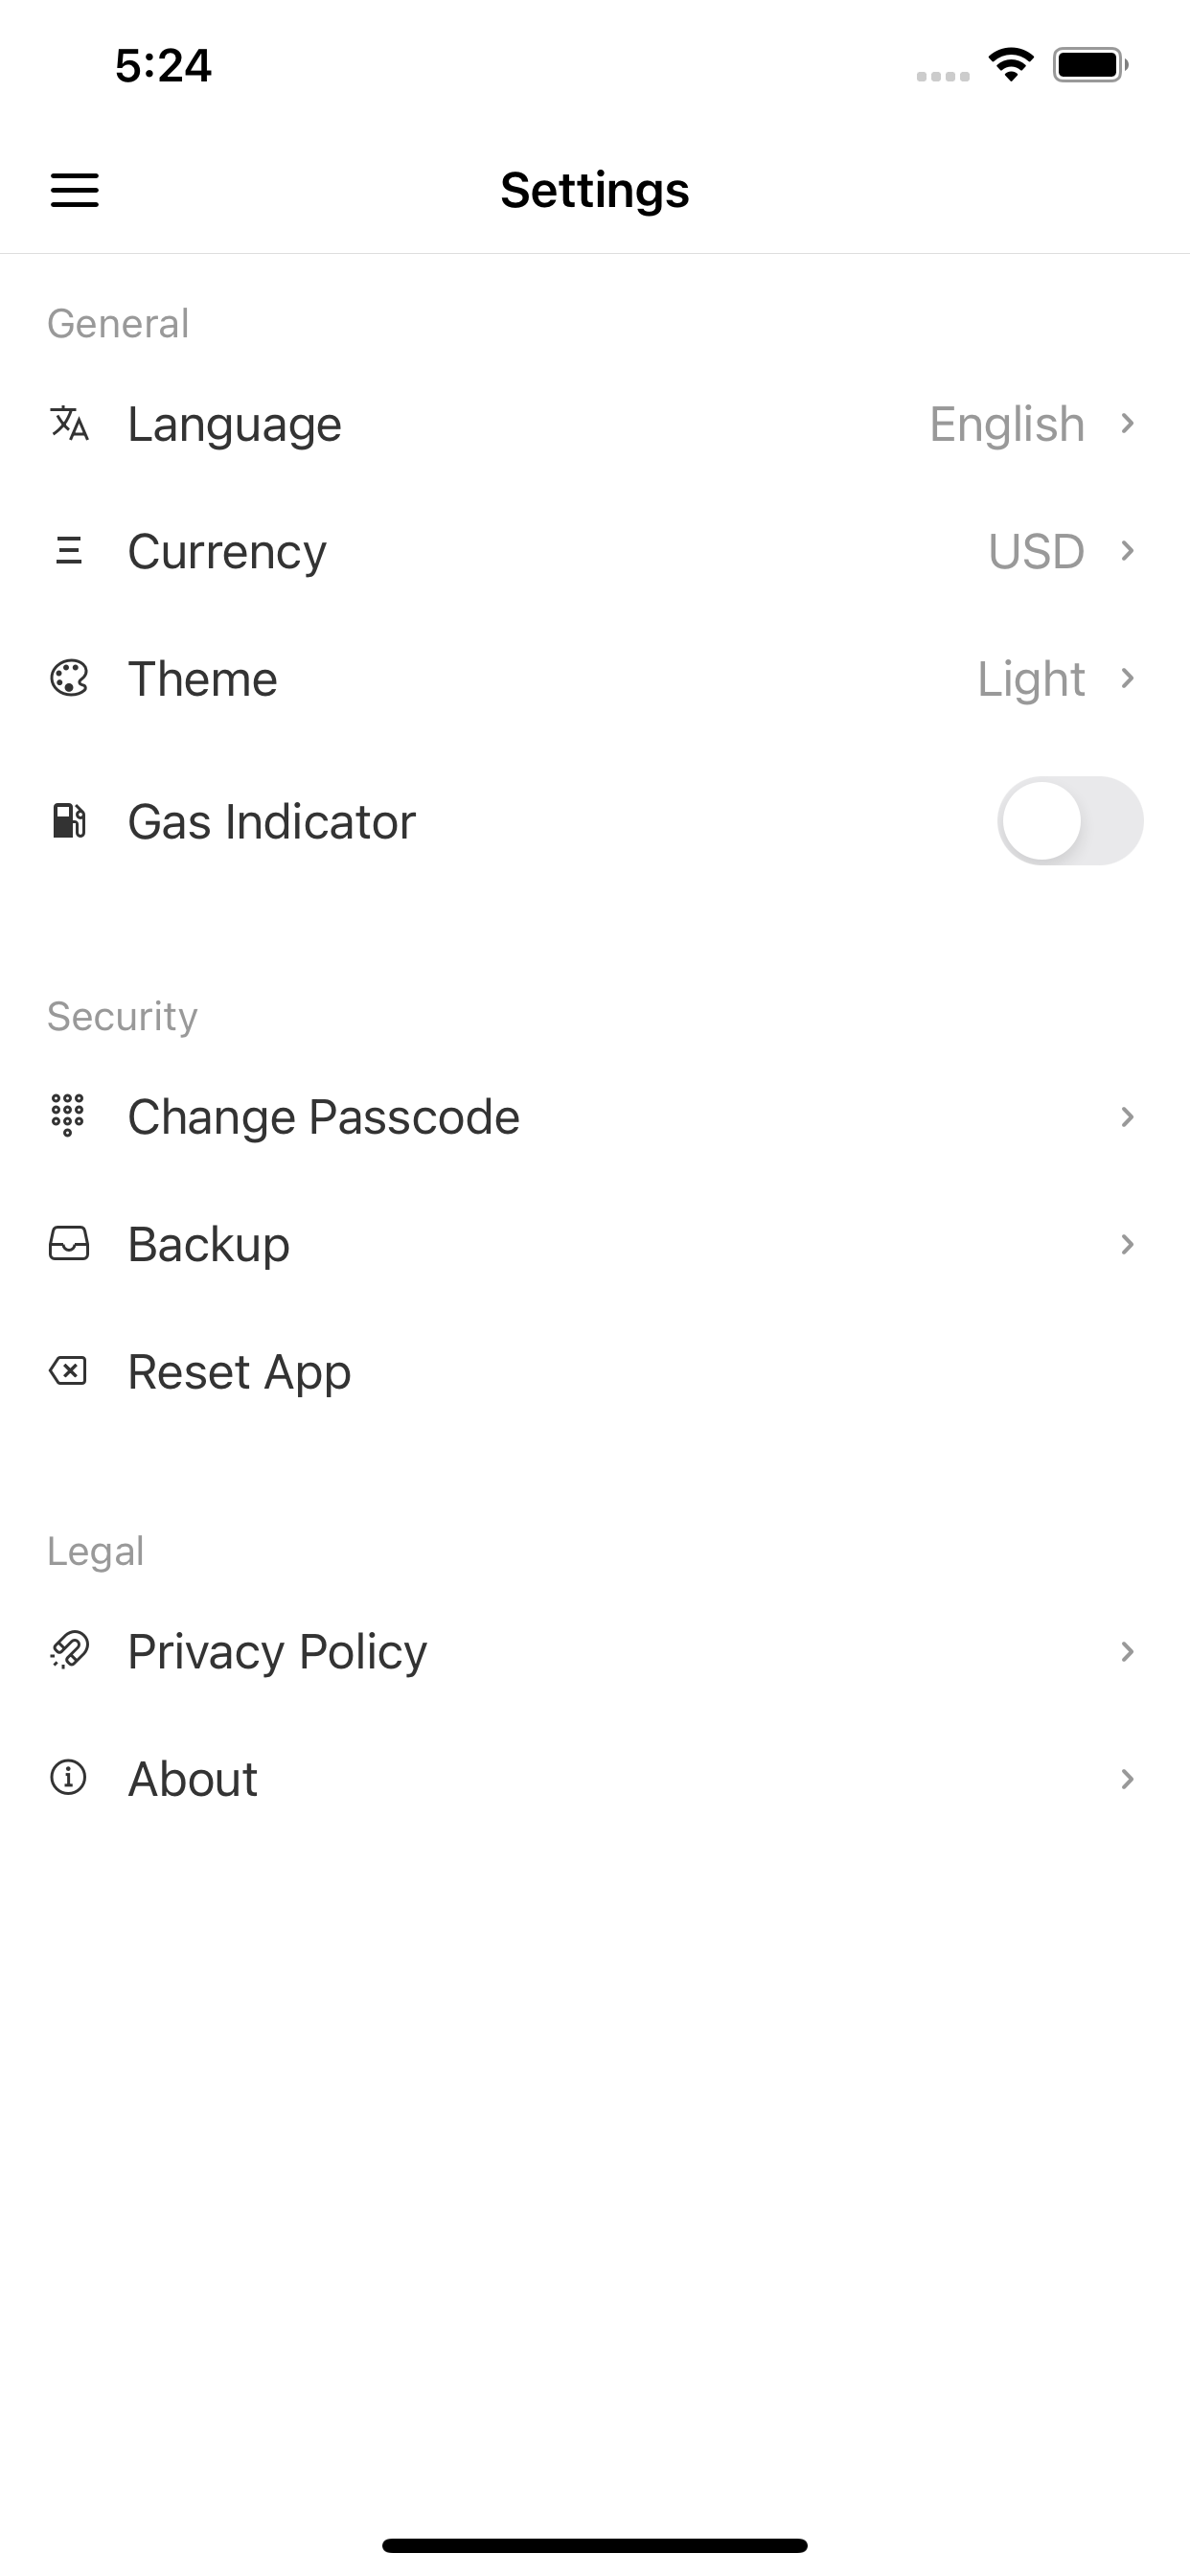
In addition, you can change the UI language, backup mnemonic words, etc.